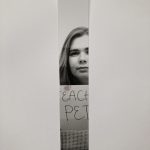
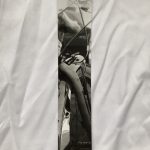
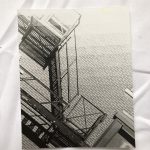
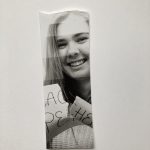
After developing the 35mm black and white film, the next process was to enlarge the image onto photographic paper to produce a final print. This used the same techniques previously used in photograms and invented negatives, whereupon test strips were produced to gain the right exposure for the image to have the correct amount of grey variations. Filters were used above the film carrier, within the enlarger head, to reduce the number of greys within the photograph and create a more monochrome image.
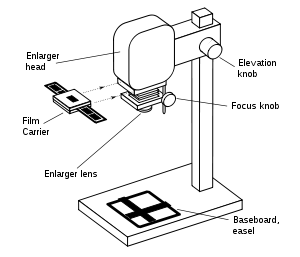
The film enters the film carrier with the correct negative inserted. Using a scrap piece of photographic paper, line up the easel and use the focus knob to ensure the image will not be fuzzy nor blurry. Additional tools can be used to completely focus the image. Once this is complete and you are happy with the set up, proceed with a test strip, normally testing every 5 seconds with an aperture of around f/8, but this can depend on the image. Find the correct settings for the image, but do not move your enlarger head, film nor easel as you place a full sheet of photographic paper in and complete a copy of the whole image. Develop this and repeat from here until a final image that you are happy with, appears.


Leave a Reply