35mm Photography

Regular format photography is also known as 35mm photography. The measurement of 35mm references the width of film and can also be found in other sizes. Many cameras that use 35mm film are SLRs, or Single Lens Reflex camera, meaning that there is a pentaprism from the viewfinder to the lens, allowing us to see through the lens. When the shutter is pressed, the mirror will raise and the shutter will activate, taking a photo.
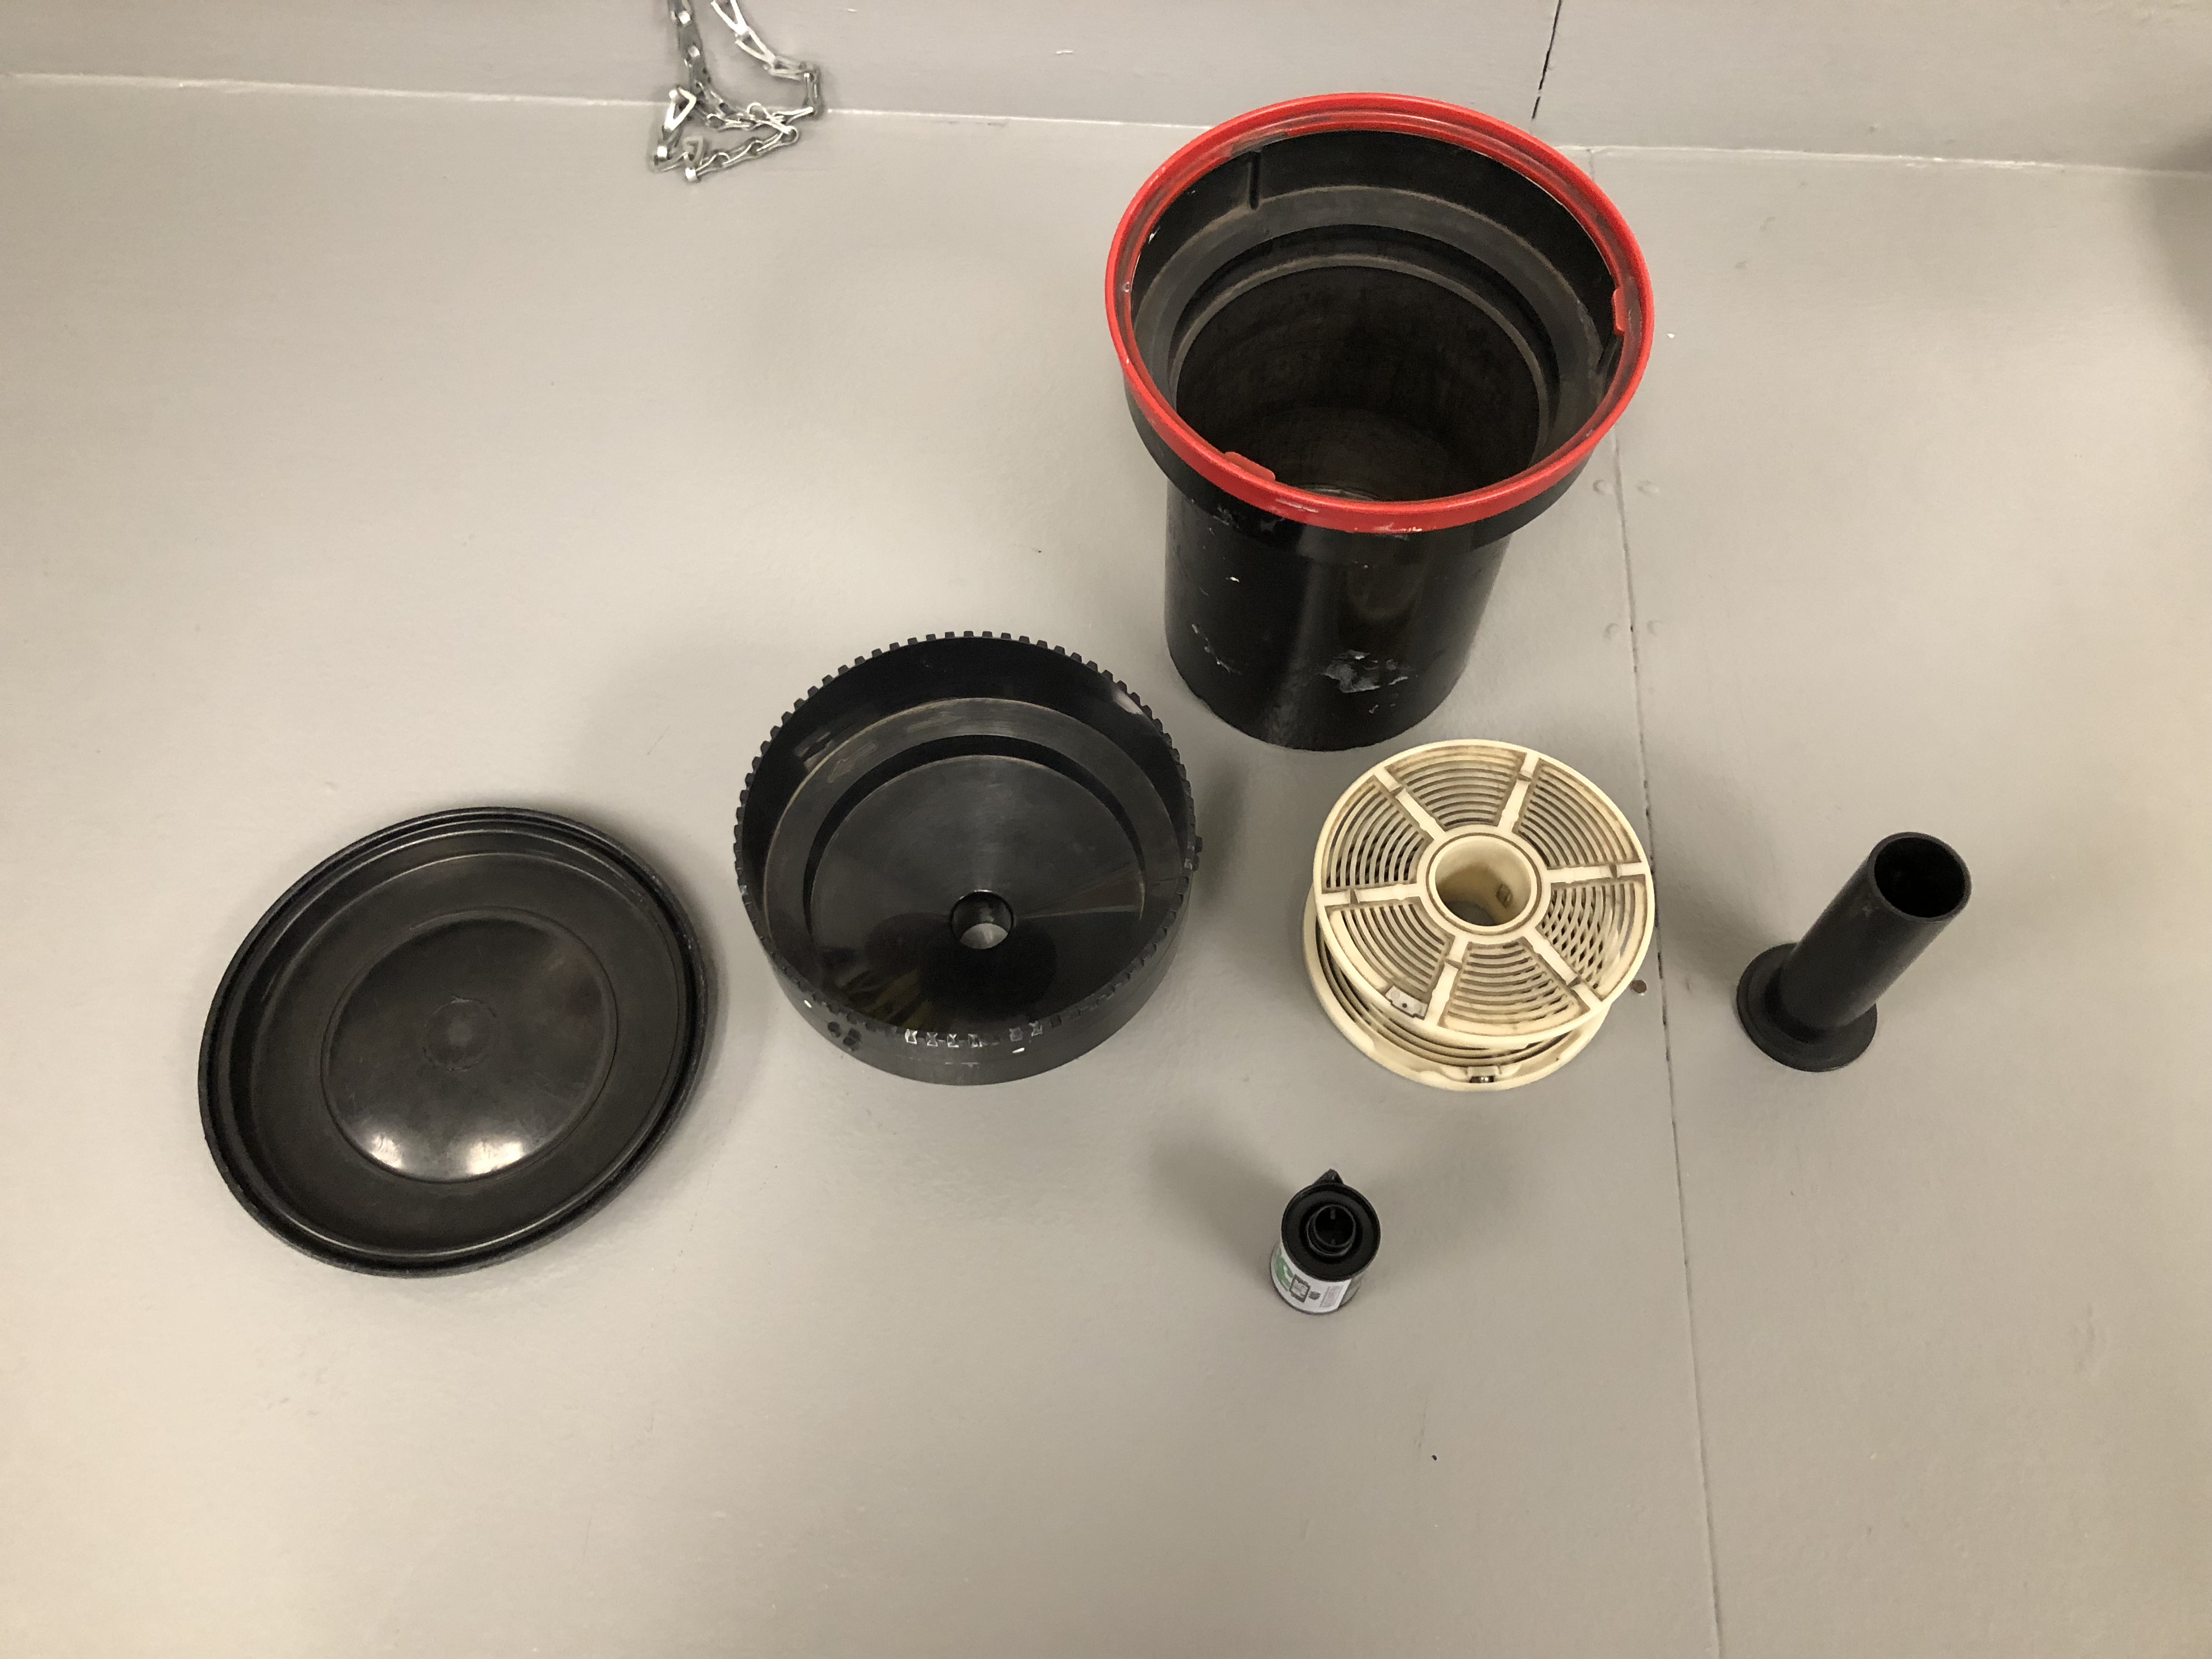
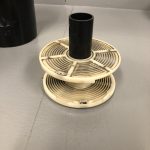
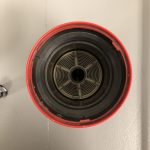
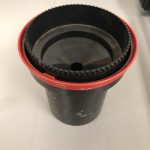
Film is sensitive to all wavelengths of visible light, so you must be cautious when loading and unloading the film from the camera that it is completely wound into the canister. You cannot let the camera see the light until after the fix stage of development. If it is exposed, the film will turn black. Because of this, you have to take the film out of the canister in complete darkness. For this process, see Developing Film.
You have to be aware of the ISO/ASA as this measures the films’ sensitivity to light. If it is sensitive to light, it require less light in exposure. You tell the camera what sensitivity the film is inside the window on the shutter speed measure circle. The lower the ASA, the lower the sensitivity to light, meaning a higher exposure. 400 is normally a good, general purpose film.
Exposure is important in the photo, and you must use the exposure reading by pushing the shutter button half way down. This will show you a plus, green circle or minus as the camera assumes that everything will be middle grey. You want to alter the shutter speed and aperture so you have the green light showing. Ensure you focus before taking the photo. Moving the frame will alter the exposure, meaning you have to change the shutter speed and aperture again.
There is a direct relationship between shutter speed and aperture as when you increase the f-stop, you lower the shutter speed. The give or take, or reciprocity, between the two allows to to roughly gather what settings you may need to change. You shouldn’t shoot anything with a shutter speed longer than 1/60 of a second as it will pick up camera blur.

  • Shutter speed/TV: smaller number = bigger hole = more light. Bigger number = smaller hole = less light
  • Aperture/AV: smaller number = bigger aperture = smaller focus range. Bigger number = smaller aperture = bigger focus range

The consequence of changing aperture is changing the depth of field, or the range that will be in focus. If the aperture is wide open (smaller number), the depth of field will be small. Changing the aperture will re-position the focus of the depth of field and can change the context of the image. You can determine the depth of field with the preview button that is found on the side of the lens. This will determine how much of the image is in focus around the focal point, and will make it seem like the image goes darker.
The depth of field can be changed with aperture along with focal distance of the lens and the camera to subject the distance. The closer the subject to the lens the lower the depth of field (relative distance).
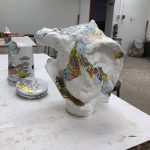
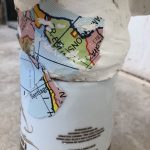
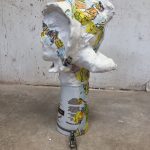
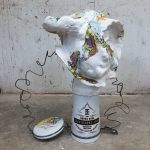
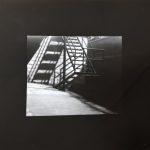
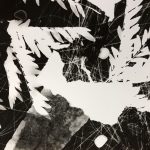
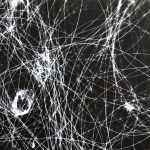
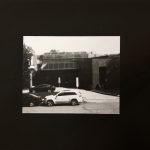
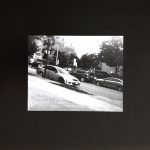
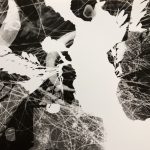
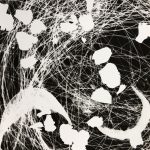
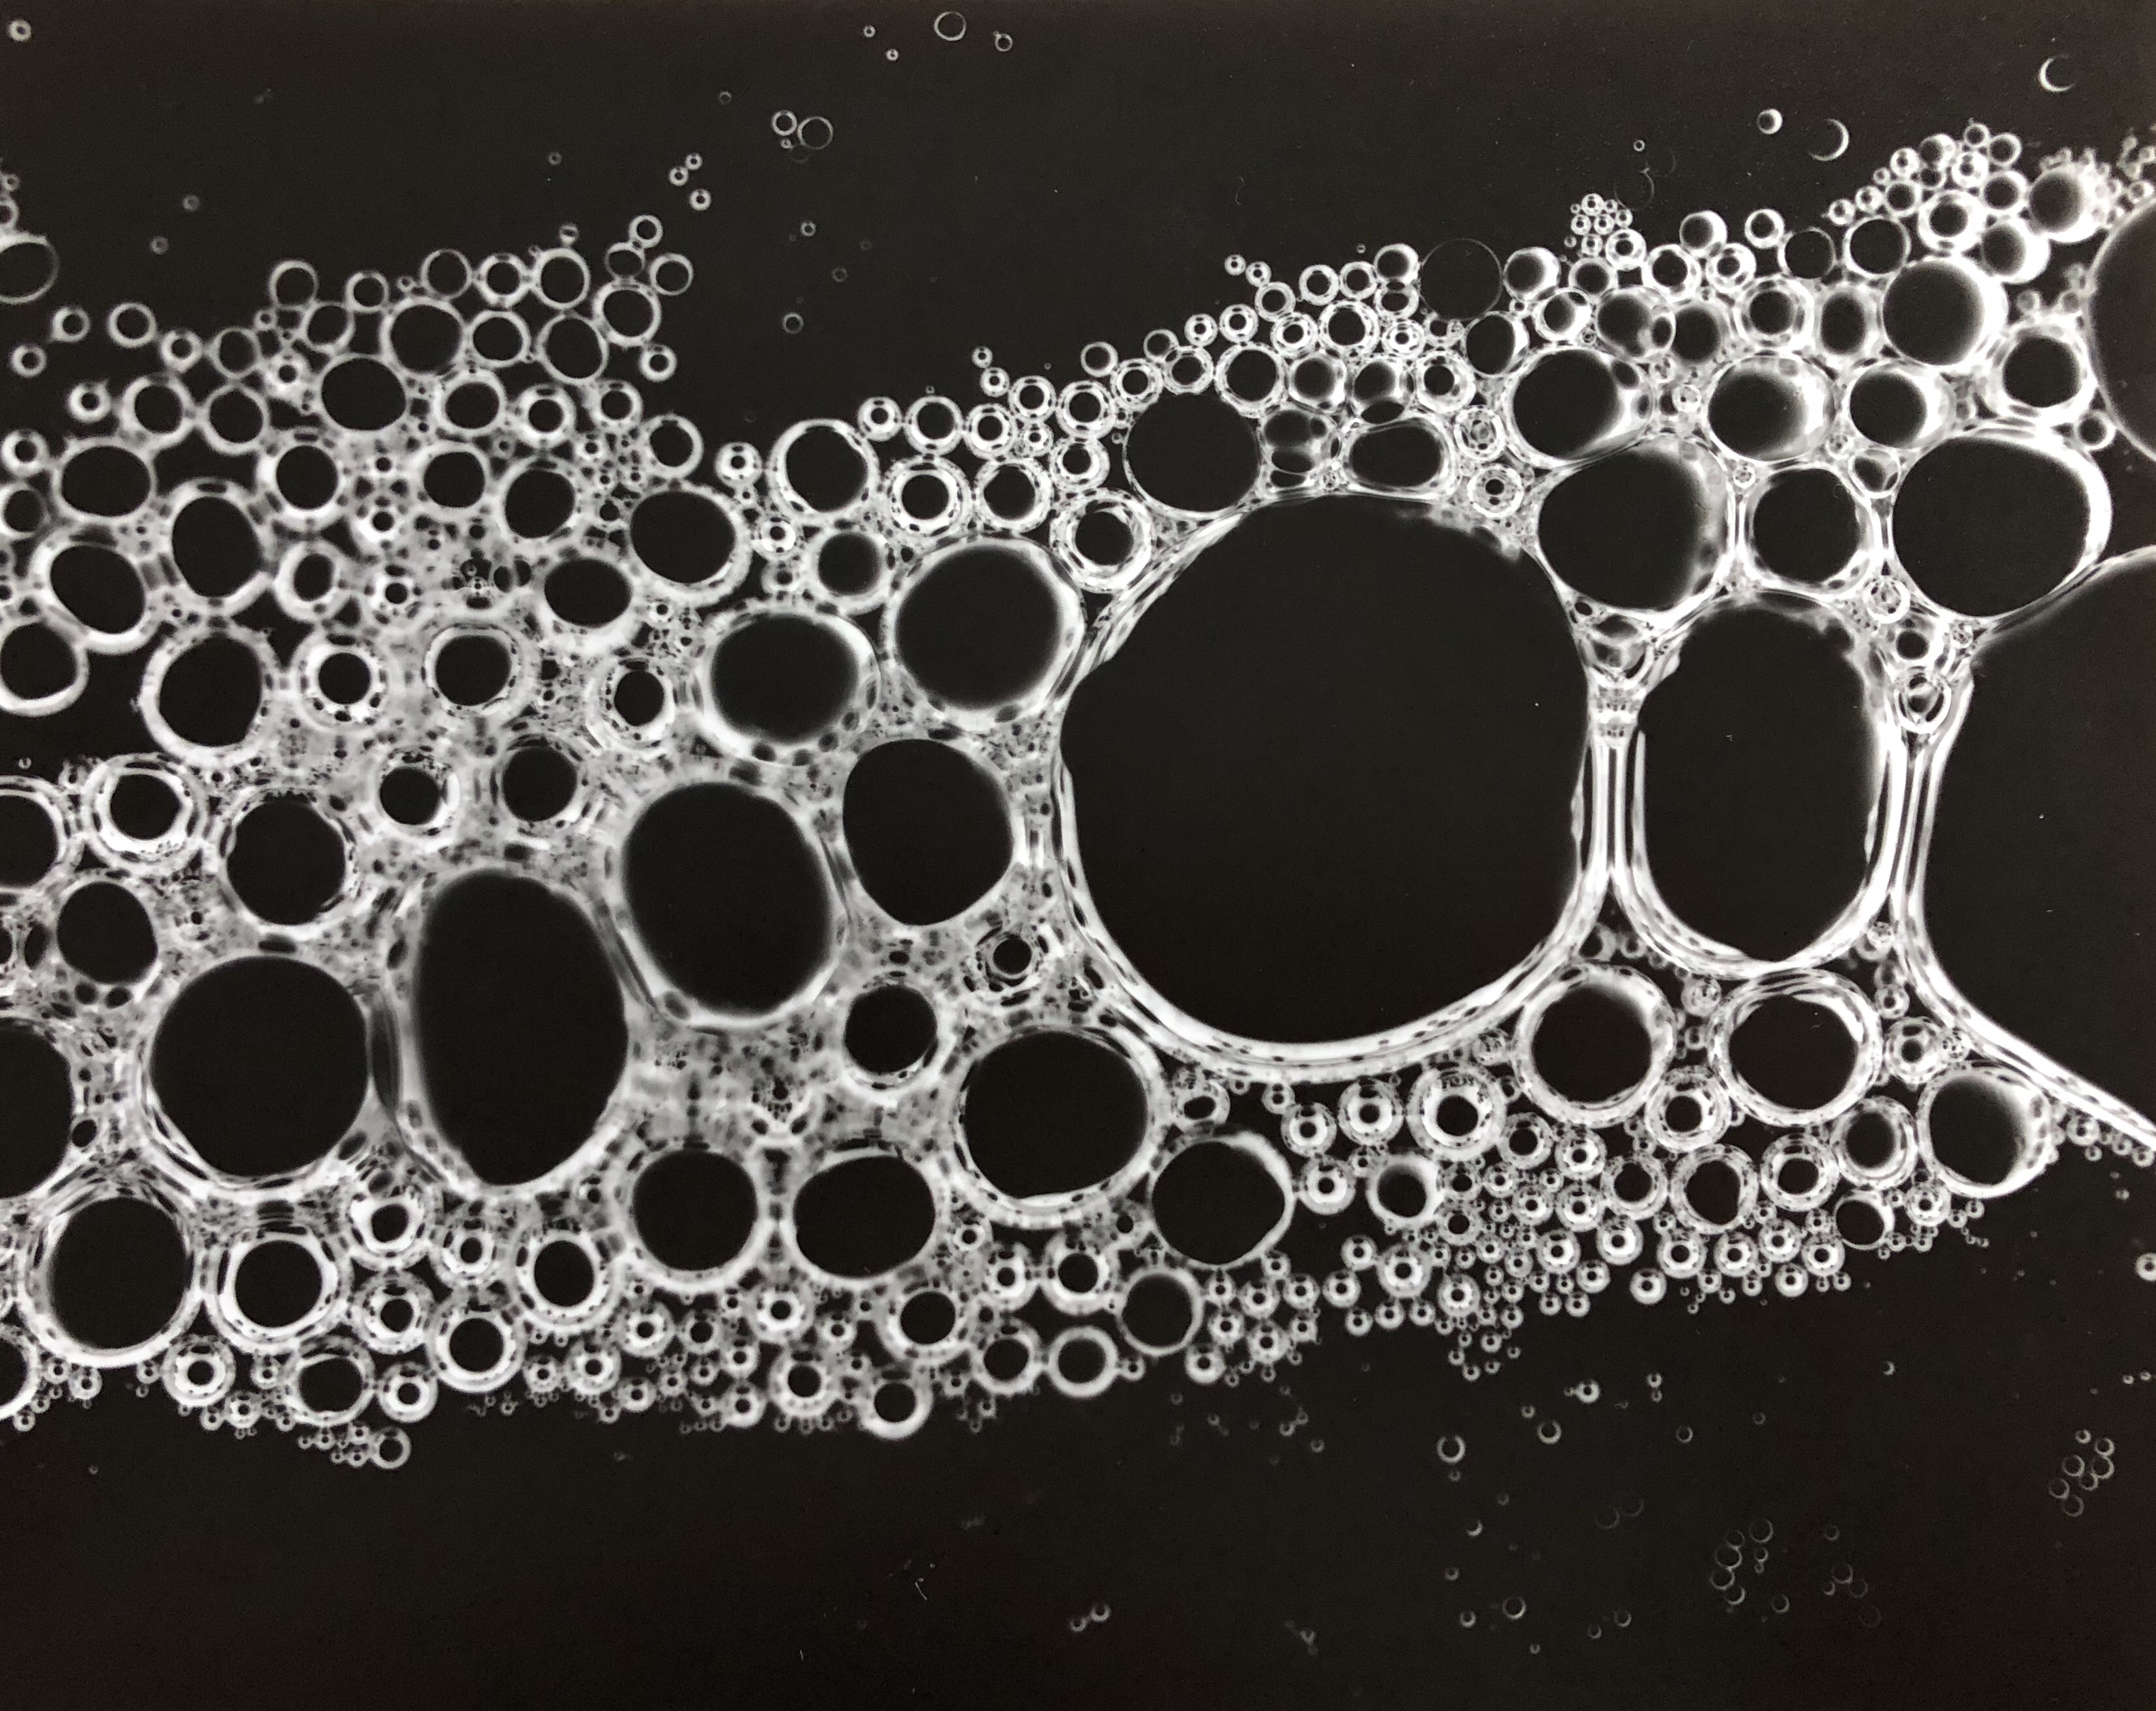
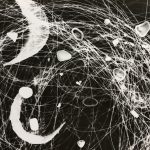
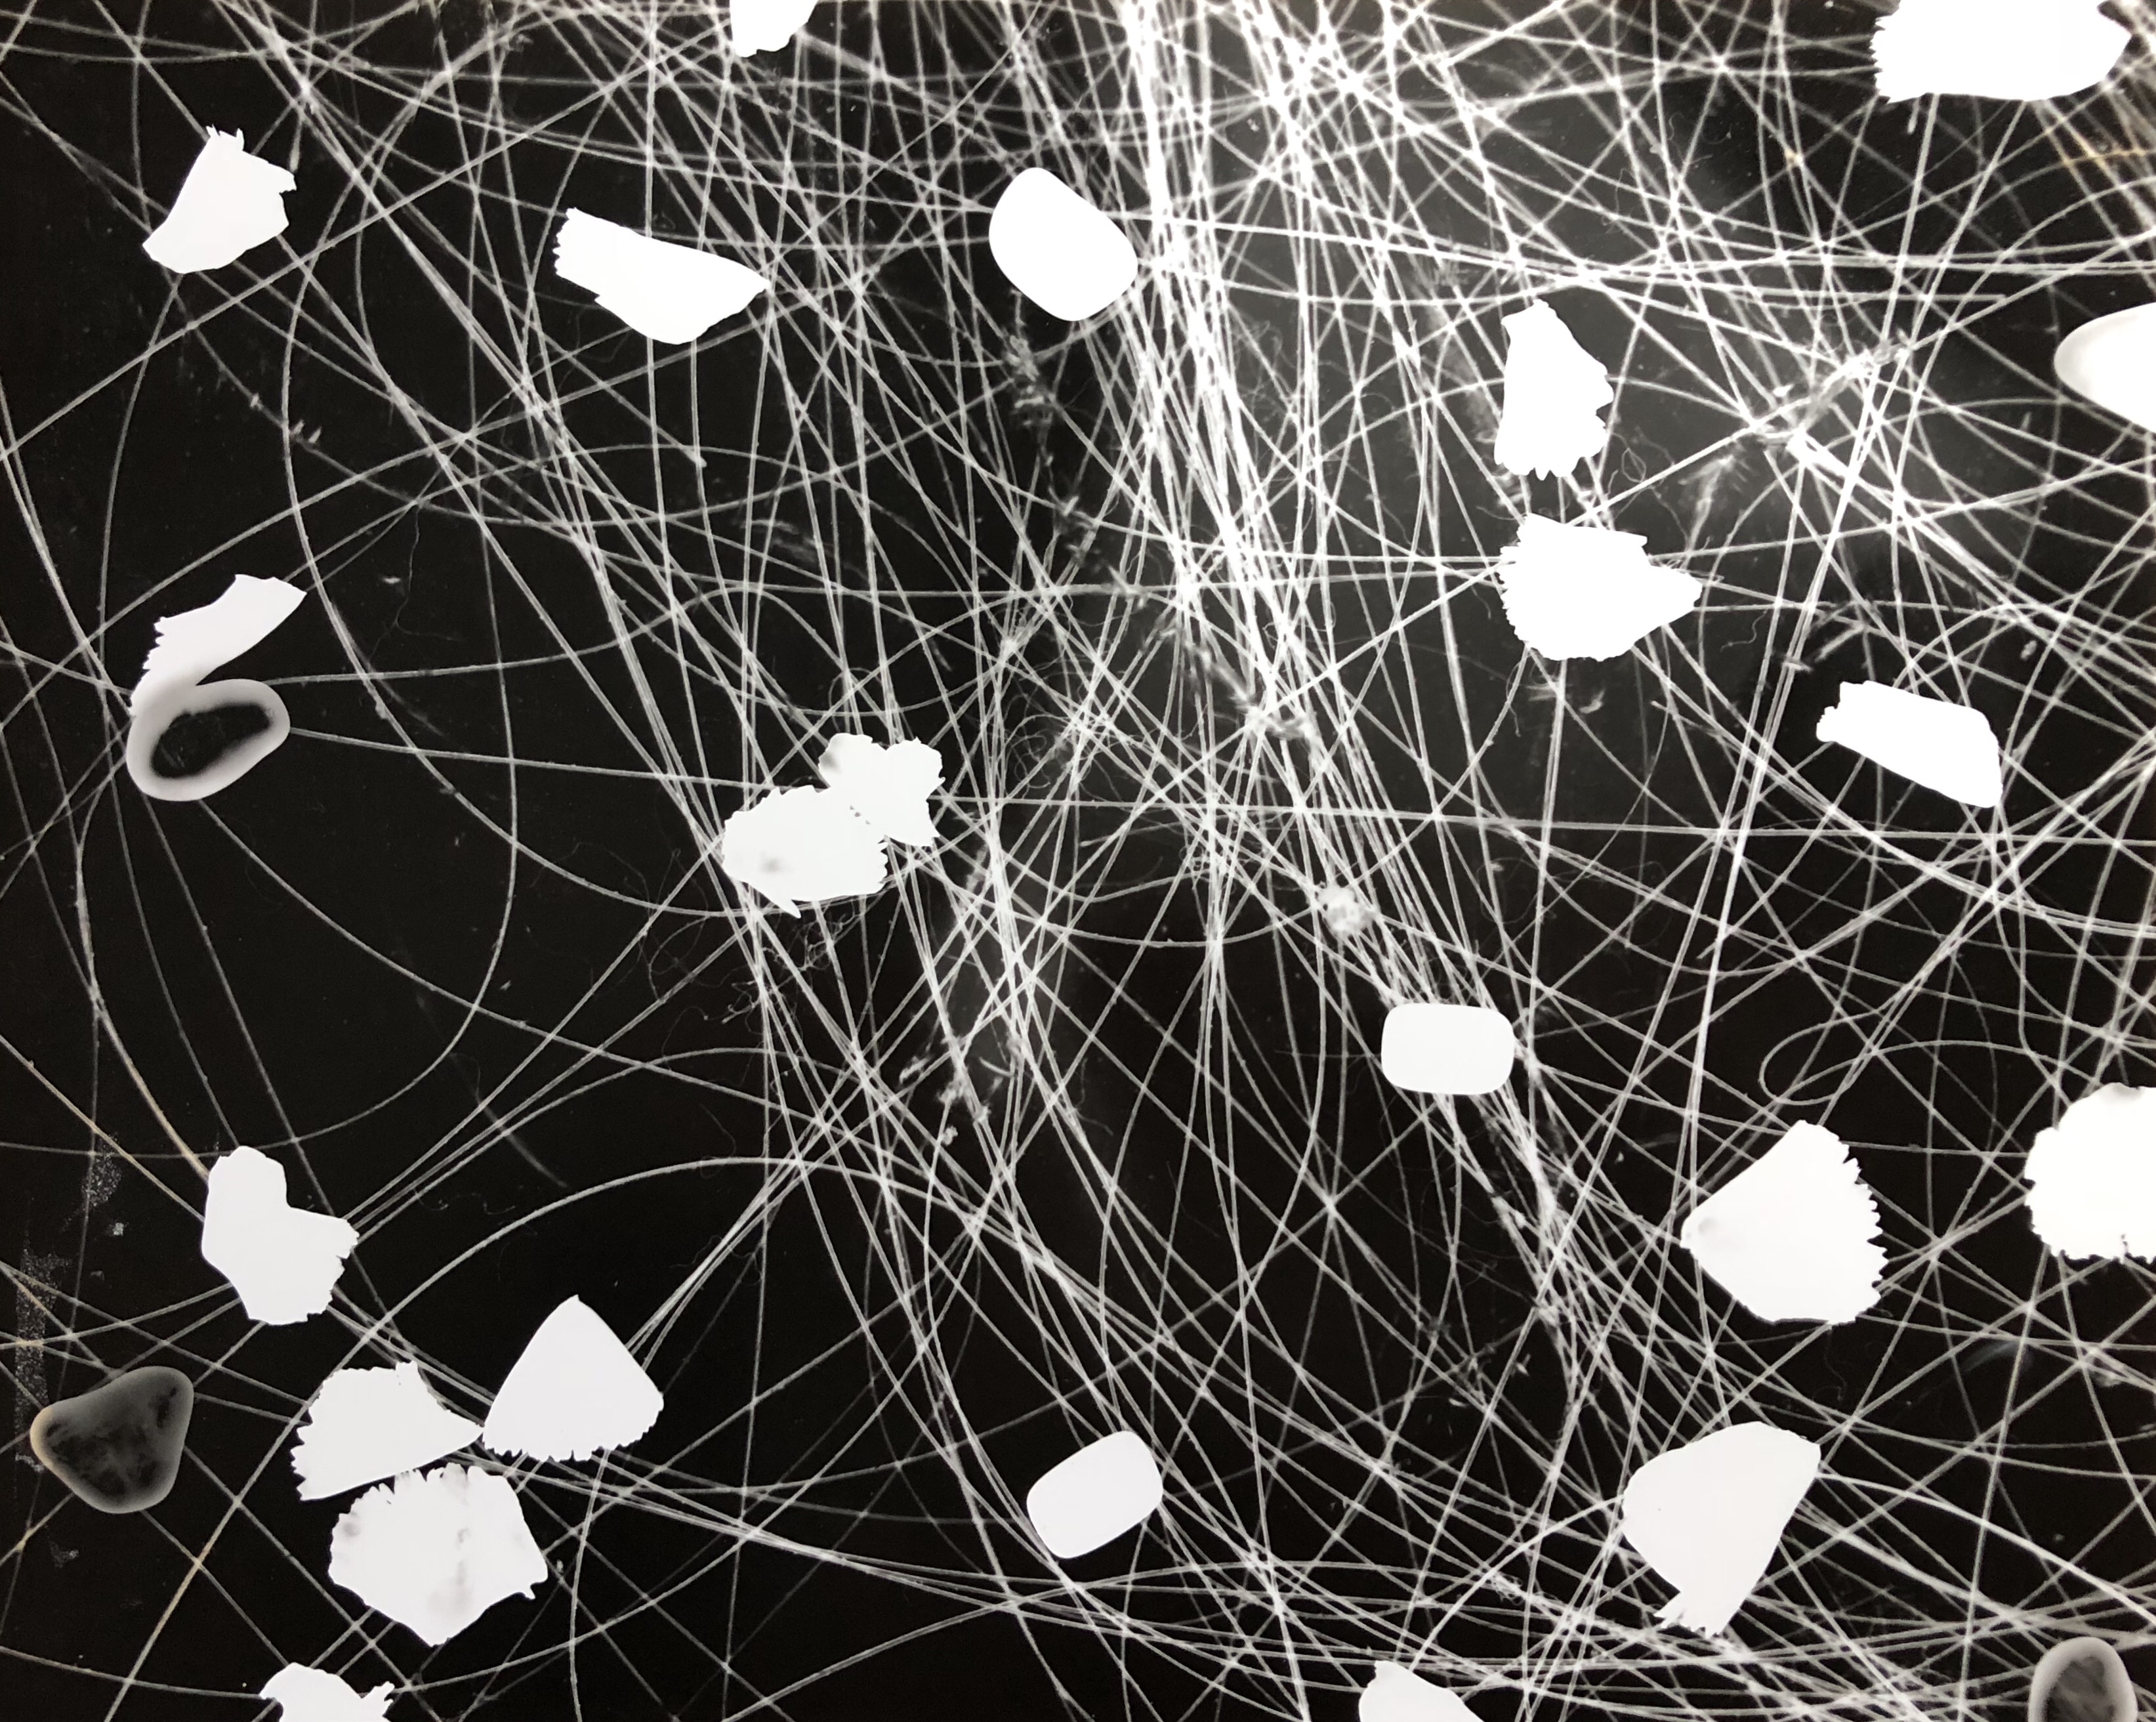
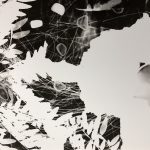
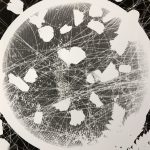
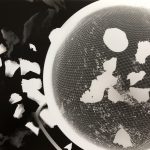
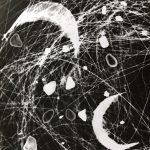
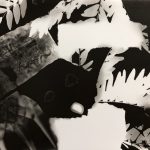
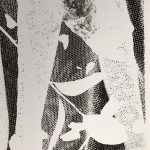
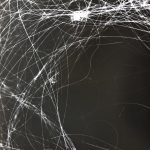
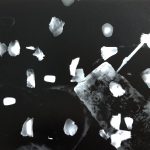
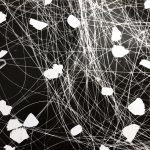
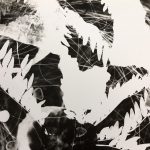
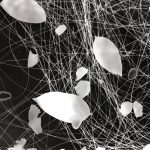
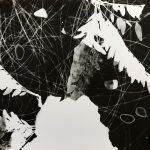
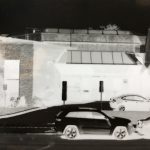
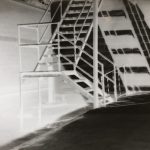
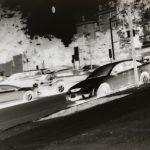
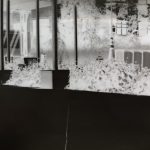
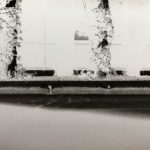
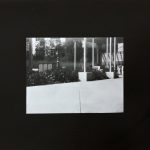
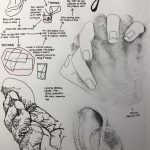
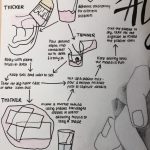
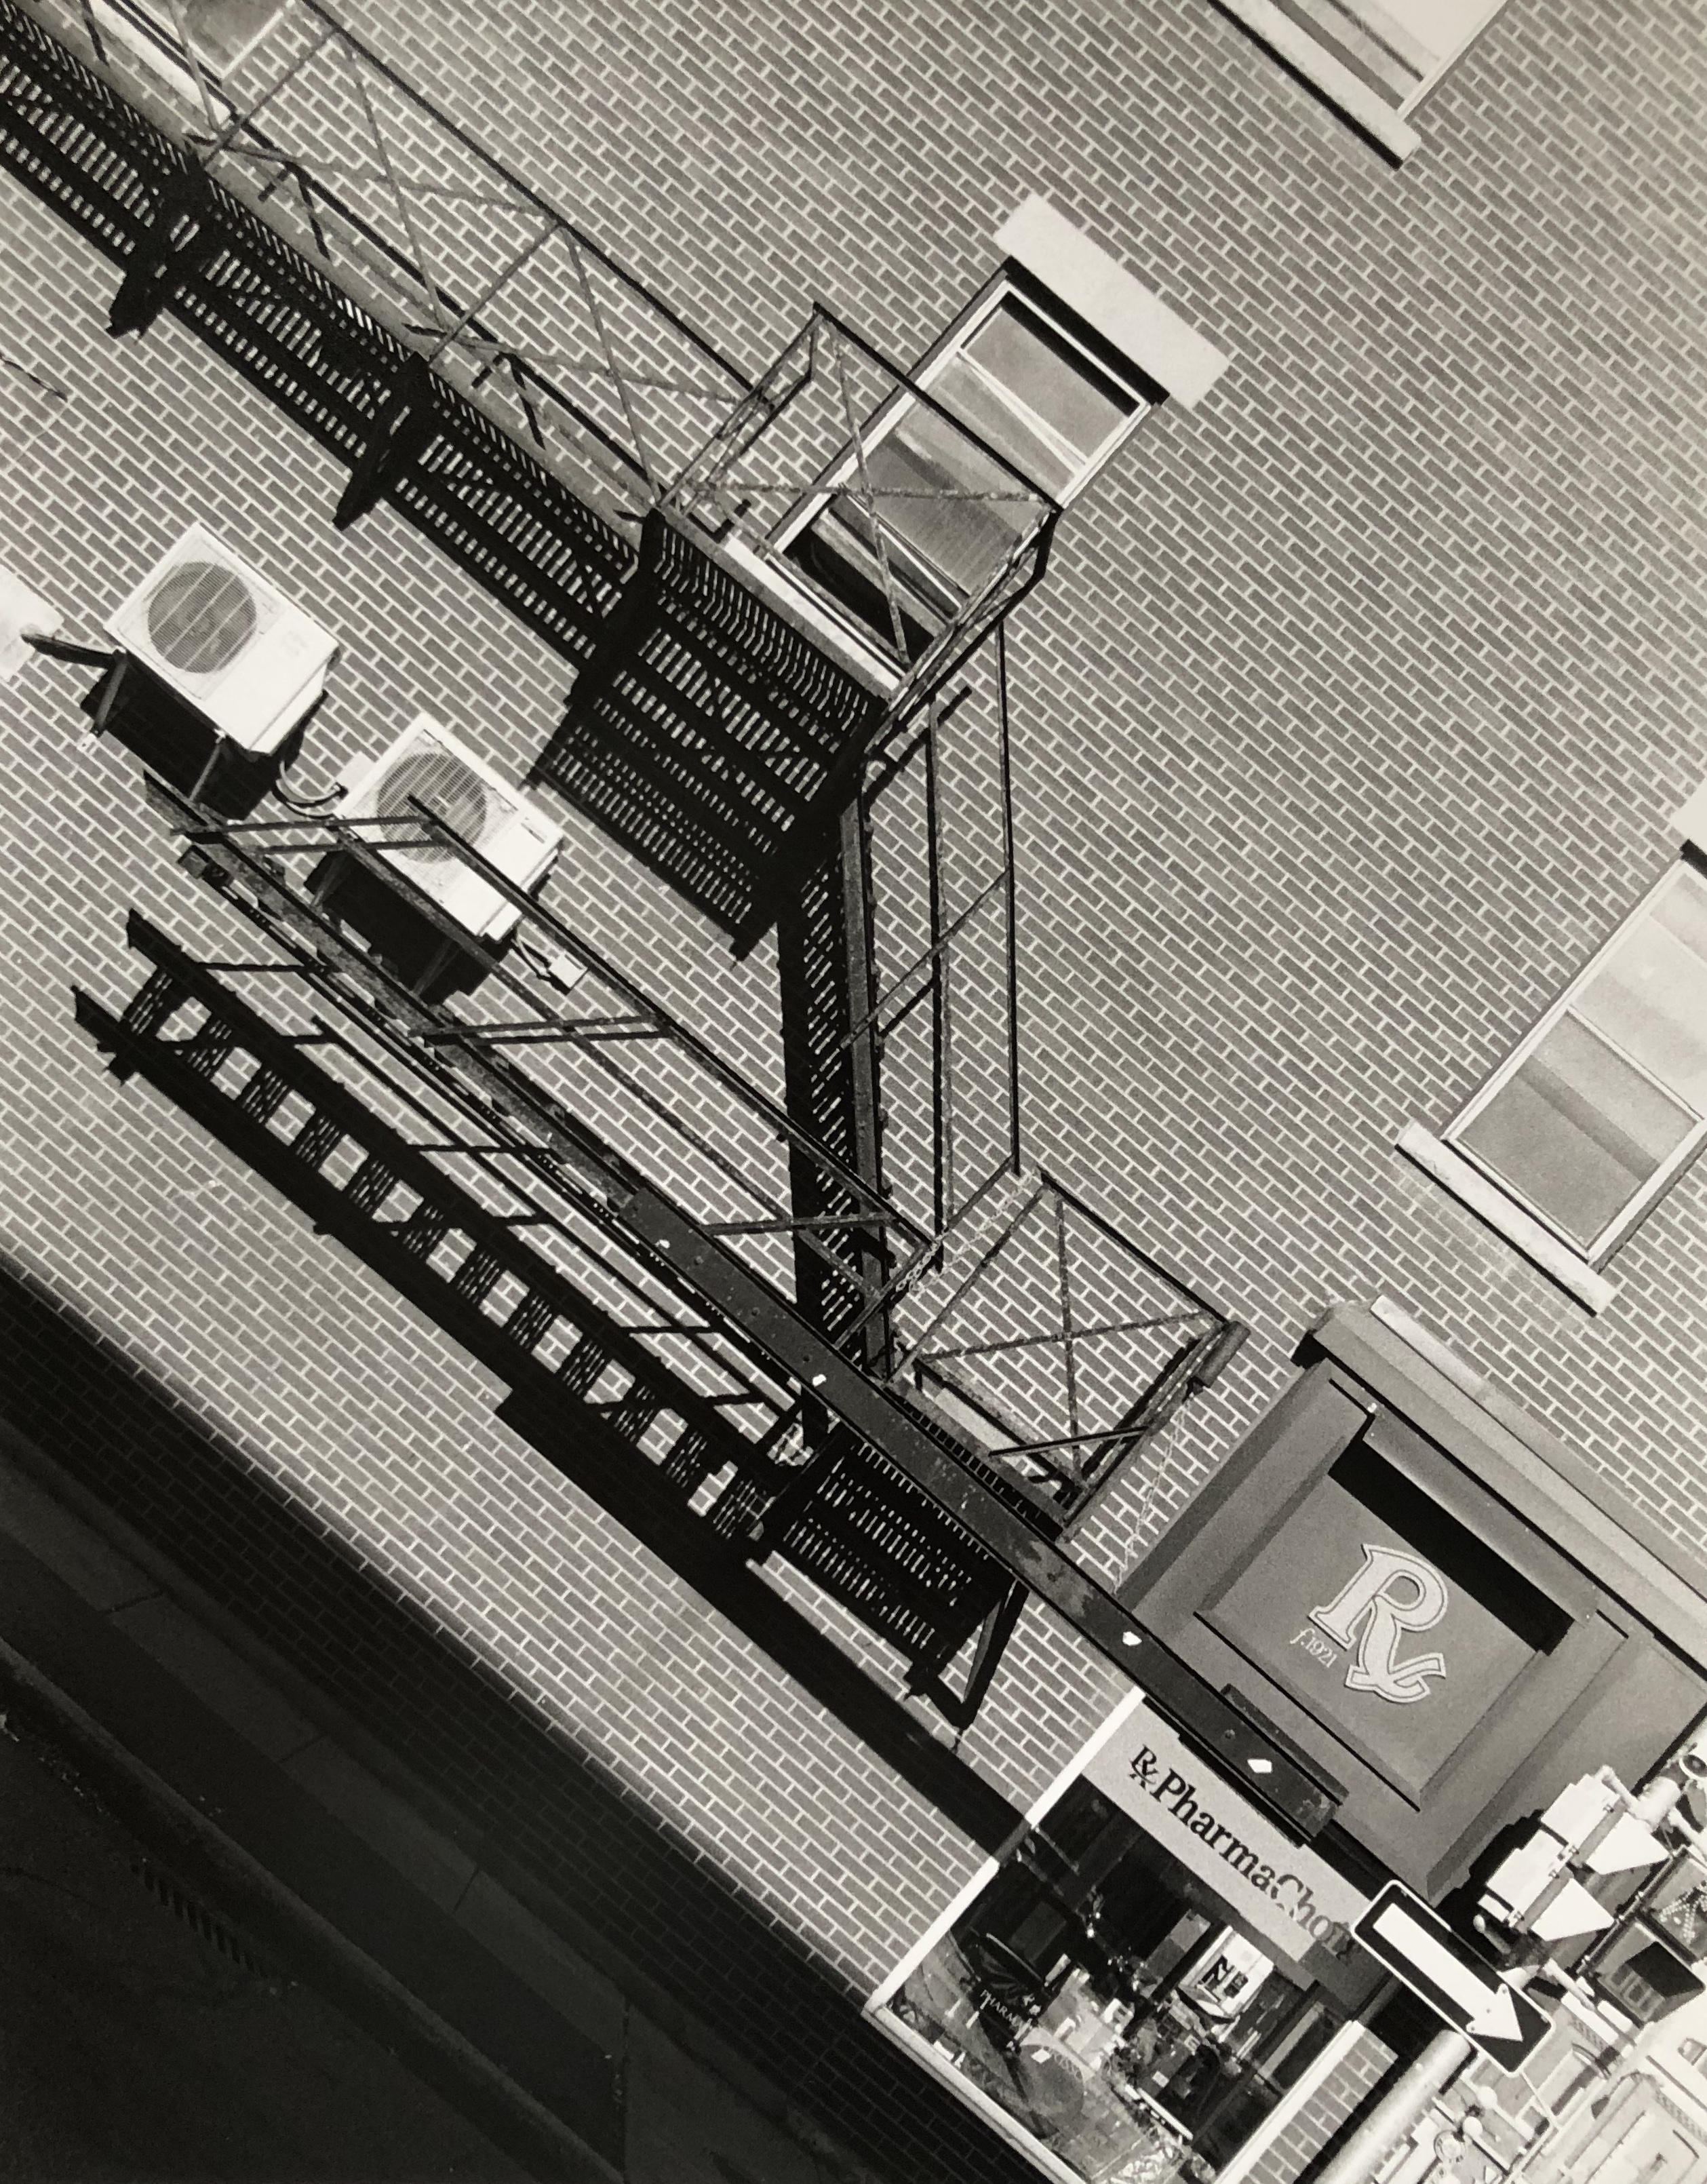
I used all of this theory while using the 35mm cameras to take images for the second photography assignment, Like Nothing You’ve Seen Before.

Plaster heads

Above: the sketchbook pages outlining my ideas around plaster and the manipulation of the materials in a project where the concept was to have no concept.
As the main element of the plaster assignment, we were each individually given a Styrofoam head to transform using plaster. We also had to include a base that we had found the week before, and it was a difficult challenge to bring these together in harmony. I did not have any preconceptions of what I wanted the head to look like. Many of the drawings I did for planning, were completed after the main areas of plaster were already on. Cheesecloth as well as plaster was used to stick the plaster to the Styrofoam.
The first section completed was the hooped handles at the top and bottom of the head. I wanted to incorporate other materials from the get go, and building the handles with skewers and cotton wool balls allowed me to do so, and create a strong structure.

After adding these, I felt that something was missing, and I wanted to have more movement within the piece. I found some cardboard and started to rip it and bend it freely into shapes around the head. Once the first piece of cheesecloth was in the centre, holding the piece down, I then started to create the curvature from the centre of the face and around the left side.

However, something was still missing, and I felt that the neck was too bland and a balance of plaster needed to be copied on the right side. I replicated the random positioning of cardboard from mid to bottom head. This came with a break between this piece of cardboard, and the existing piece already on the head. The break in the curve was welcome as it showed an unexpected turn of events.

I was happy with the design of the head, and the movement that was created with each layer and addition of plaster. I decided to sand the head down in order to make it smooth, while still seeing the imperfections. Allowing the piece to continue to show the imperfections lets you view the rawness of the material.

But once again, there was something missing, until I found three giant maps while routing around in the skips out the back. These were in very good condition and grabbed my attention immediately – I felt like I had to use them in some way or another with the plaster head.

Then began the process of paper mache with the maps, to the head. I didn’t want large clumps of map to overwhelm the head, so I ripped the islands on the maps up into manageable sized chunks that allowed you to roughly see the country but not overwhelming you. The thick pieces of map had to be soaked in water first before applying to a dampened plaster with diluted white glue. I followed the ‘unnatural’ contours of the face that people may not see. This added an extra layer of movement.

To finalise the design, I used sandpaper over the maps to rough them up and to bring plaster through some holes. This made the maps look like they were a part of the process of the head, rather than added at last minute. I also added maps to the side of my base, a ceramic chocolate pot. This connected the two together even further. The use of text within the piece fascinated me, as it is not often that you openly see text within a sculpture. There is a strange juxtaposition between the torn up maps of the world, showing chaos and destruction, and the calm and orderly chocolate pot.
The final addition were three curved wires from the bottom of the maps that mimicked the curvatures found in the head.

Overall, I was very pleased with the plaster head project. It allowed me to explore the use of plaster in a different environment, and stretched what I thought it was capable of doing. The balance of the piece, I believe to be successful, as the piece shows the delicacy of the world that we currently live in, while giving us some piece of mind with a hot chocolate.

img_6714
Final display of plaster head and base

Two-part Plaster Mould

img_6624
Sketchbook spread outlining process and ideas of a two-part mould casting

I had never worked with a process with as many steps as the two-part mould, but was very happy with the final casts that captured a high level of detail from the silicone mould. The silicone allows for several casts, unlike alginate.

img_6619
Sketchbook pages outlining the complex process of a two-part mould and a mother mould counterpart

Silicone mould:

  • Choose an object. A hard object with good volume is ideal for a first mould.
  • Fix object to a board, ideally using a screw.
  • Prepare your work space with your object, silicone and gel, paintbrush, scraper, mixing stick (an ice-lolly stick or scrap piece of wood is ideal) and thickener.
  • Add the silicone to the gel, mixing well.
  • For 400ml silicone, add one cap of thickener. To get finer detail, make a thin layer without thickener and wait until it gets tacky, then add a thicker layer.
  • Add clay to the base for a ticker pour spout. Liberally apply silicone to object.
  • Smooth down using a scraper to make a relatively flat surface.
  • Ensure all areas are covered, making one side slightly thicker than the rest.
  • Leave for 24 hours to completely set and dry.

Mother mould:

  • Mentally draw a line around the mould, splitting it in half while ensuring there are no steep curves. Draw this line using thick pieces of clay, reinforcing it on one side of the mould.
  • Get the clay to be right angles to the silicone mould.
  • Add indents so the other side of the mould has something else to hook onto.
  • Using thicker made plaster, slap it on to get rid of any extra air bubbles.
  • As it gets thicker, dome the shape of the plaster. The walls need to be thick to withstand several casts.
  • Once one side it dry, take off all the clay. smooth the side of the plaster mould.
  • Cover the wall and some of the outer cast in Vaseline. This ensures that the plaster will not stick to each other, creating the two sides of the mould.
  • Complete the same plaster process on the other side, sans clay.
  • Once both sides are dry, split the mould in half.

Silicone mould:

  • Cut a zigzag pattern down the thickest part of the mould.

Casting:

  • Put the silicone mould back into the mother mould, sliding the two halves of the mother mould together. Attach using thick sellotape, wrapped around the mould.
  • Mix a thin plaster. Pour a small amount of plaster into the mould, swirl, pour it out. This picks up lots of detail that may otherwise be trapped.
  • Repeat several times.
  • Top up the mould with plaster and tap to get bubbles out.
  • Leave to set.
  • Once set and dry, cut open the sellotape and get out cast from the mould.
  • Put the silicone and mother mould back together and repeat for number of casts desired.

Despite the long process, the final product was very appeasing. The high amount of detail that was picked up by the silicone mould was beautifully replicated in the cast produced. I was able to produce two casts from this mould, both of which came out wonderfully. There was some difficulty getting the silicone out of the mother mould the second time, however it was eased out. If I am able to in the future, I would like to explore the use of a repetitive process with moulds, and the impact of repetition.

img_6537
Final cast from the two-part silicone mould of an unknown vegetable.

Developing Film

Developing film was a more nerve-wracking and exciting process than I initially imagined. The film had to be loaded in the canister (the white circle) in complete darkness to ensure no light contamination. On each canister, or on the box, it will tell you the code of chemistry that you need to follow. If you have film that says ‘black and white’ but has a code of C41, it must be processed like colour film. Below contains the instructions that must be followed in the dark with the 35mm black and white film.

img_6154-1
Canister, tube, funnel, lid, box and film used in complete darkness for 35mm film. The box is light tight, but allows in fluid, for the development of the black and white film.

First, load the film into the canister, cutting off the ends. Then, place the tube through this, ensuring you have the right tube for your container. This goes into the container and the funnel gets placed on top. Turn this until is clicks, making it light tight and unable to fall out. The lid goes on last. You can then go outside to develop the film.
The video below goes through this process, as well as the chemical development. The time it takes to develop the film depends on the temperature of the water. The process as a whole takes around 40 minutes with exact measurements of the chemicals. In the development area at the University of Ottawa, we also have detailed instructions to remind us of the process as we are going through it.

Once our film is dry, we are able to hang it up in cupboards designed for the length of our film. Here, it prevents dust from touching the sensitive film. Once it is dry, it is cut up and placed into film sleeves for protection. I was very happy that I was able to get images from my first development, and I am excited to continue working with film.

Photography Assignment One

There were two main elements to the first photography assignment; pinhole or constructed camera photography and photograms and ‘invented’ negative photography. These projects primarily looked at the process of using the dark room and found objects. Photograms and invented negatives allowed the play of light and objects at different heights to the photographic paper. The play of materials allowed for a greater thought process outside of the normal box that photography sits in, in order to manipulate an image. An inspiration point for the manipulation of objects was Oscar Rejlander, also known as the grandfather of photography. Rejlander manipulated negatives of images to produce several versions of the same image.

Pinhole camera photography, on the other hand, used a homemade camera with the same principles of an SLR camera. There was a manual control over the five minute shutter speed I had, with an important step of inserting the photographic paper at the back of the camera, in the dark room. This part of the project allowed the exploration of the unknown, especially with composition, as you were never entirely sure where the camera was pointing and whether it was at an angle. Some of the more successful pinhole photographs were those perched from strange, or unsought of places. The experience of viewing the work, and even the process, was mediated by the act of capturing the image, much like the work of Pascal Grandmaison.

Each had their own difficulties, as I found I had a block as to what I can use as a subject – my mind was relatively closed throughout the project, and I did not step too far out of my comfort zone. Because of this, I was only okay with the selection that I handed in for this first assignment. I felt that it showed the diversity of all the pieces that I created, while also displaying my technical skills both in and out of the darkroom. If I were to do the project again, I would have looked at a wider variety of simple photograms and invented negatives, as this worked best. I would also try to get a cleaner developing technique as a streak of black can be seen on many of the pinhole camera positives.

Invented Negatives and Photograms

Photograms is a method where you create images by placing objects directly on the photographic paper and exposing them to light in the dark room. Where light hits, it turns dark, and where light has been prevented from touching the paper, it stays white. This can also be referred to as dodging (remove light) and burning (add light).
Invented negatives involve using the enlargers that are found in the darkroom to project an image that you have made onto the paper below. I used hair and spit projected onto the paper to create many of the images, as there was a false perspective drawn immediately when focusing the enlarger. Using the enlarger also allowed me to get comfortable with it before moving on to 35mm photography.
The collection that I created used many found materials. I found that the simpler designs worked best, although I felt like I had run out of time and energy to explore the concept further. I enjoyed confusing people with what the images were, and felt that I wanted to work more with bodily fluids as the spit was very interesting to manipulate. These are all things that I will considerate if I go back to creating photograms and invented negatives.
Ten of these were picked for sans camera, the first photography assignment.

Pinhole Camera Positive to Negative

What is created in the camera is negative images. The more light that has hit the paper, the darker it will be. The less light that has hit the paper, the lighter it will be. To see the positive images before developing, I used the inverted screen on iPhone, which was successful in showing me which photographs looked successful in positive.

To make the positive images, a glass easel was used by placing the negative emulsion side down to the new photographic paper that is emulsion side up. This will invert the image as well as the hues to create a positive image. Before choosing the settings of time and filter in the darkroom, a test strip was completed before developing any of the negatives into final positives. Below is two examples with 5 second steps and using two different filters; a 2 and 2.5. The higher the number of the filter, the bigger the step in tones, which allows you to see detail very well. You are able to see in the left hand image that there is more detail of the building, however the right hand side shows more detail and clarity overall. This process was completed each time before a positive was made to determine the timing and filter that needed to be used for that image.

I was very pleased with the final positive images and my understanding of filters and the use of the enlarger in the dark room. I did find that there were dark streaks appearing across my paper and this was due to an unclean developing technique. I tried to rectify this, however I believe the chemicals were being held in the tongs. I would like to try with a new pair to see if this continues to happen. I enjoyed this project as it was something completely different to what I was used to, and allowed me to step outside my box a little. It was difficult not knowing what I was taking an image of, however that was part of the excitement. When viewing other people’s works, many of us had taken an image of the stairs behind the building, and it was interesting to see the many different perspectives of the one item. I would like to carry on with pinhole photography and the idea of the unknown and the concept of taking an image of the mundane and making it seem beautiful and interesting.
Five of these were chosen for sans camera, the first photography assignment.

Making A Pinhole Camera

Pinhole cameras involve the creation of your own camera. You can use many different boxes or tins to create a camera. The process that I completed includes;

  • Find an almost light-tight cardboard box and cut a hole to fit a side of a tin can. Tape up any light cracks inside the box, including corners and joints
  • Cut a square out of a tin can big enough to cover the hole you have just made in the cardboard box
  • On this square of can, use a pin head to hammer in a hole – the smaller the hole, the longer the exposure time BUT do not make a very large hole as this will be more difficult to work with. Sand down the hole so there is no lip that the light can ‘catch’ on
  • Stick the can to the inside of the cardboard box using electrical tape. Make sure not to cover up the hole
  • Make a shutter/a flap for the outside of the box, so that you can control the light into the box. Test this so you know you can remove it and put it back on safely
  • When in the dark room, place your photographic paper, which is sensitive to light, at the back of the box making sure that the emulsion side is facing the hole. Seal the box using electrical tape. If you are unsure if your box is completely light tight, add an aluminium foil lid which will keep it light tight
  • Put into position outside, facing something that has sunlight hitting it, or in a desired position if cloudy. You will have to do several tests to determine your exposure time. For my box, it was 5 minutes. The faster the exposure time, the more likely you are to get camera blur from people, items or the camera moving. There is a high level of maths that can get involved however, most of the time it is trial and error
  • Once you have captured your image, go back to the darkroom and develop the image in the appropriate chemical baths. As your negative image comes out, you can determine whether you need a longer or shorter exposure time

Relief Mould

  • Collect the items that you want to use in the relief mould. These items can be any shape, size and consistency. The hard objects will make very direct moulds, whereas soft objects may appear unclear.
  • Roll out a large amount of clay into a desired shape. Depending on the thickness of the clay, will depend on how far in you wish to push your objects – the more projecting you want the design, the thicker the clay will need to be.
  • Once the clay is the desired size and thickness, start pressing your objects in. A pattern may not be necessary here.
  • Use a rolling pin and your hands to firmly press the objects in.
  • When they are a desired depth, take all the items out. You may need tweezers for this, especially when getting smaller items out that may be stuck in the clay.
  • After all objects are out of the clay, build a tall, thick clay or cardboard wall around the outside, ensuring it is at least double height and liquid-tight.
  • Mix some thin plaster and pour into the mould, ensuring to cover the clay with a layer to get all the detail of the relief. Keep pouring plaster until the cast is at least 3/4″ thick. This will allow for a sturdy piece that will not break too easily.
  • While the plaster is setting, make a hook out of wire, twisting it for extra strength. Add the hook when the plaster is able to hold it, without letting it sink. This is optional
  • Once the plaster is set, take off the clay. It can now be cleaned with water and a paintbrush to remove the clay.
  • And you have a relief cast.

Making the items flat in the mould was considerably difficult, especially while using a rolling pin. For the mould to be very prominent, you had to push each item in further, which was sometimes difficult with the delicate leaves. I also had problems getting some of the ghosts out. Although these problems occurred, I still found the project enjoyable, and I was pleased with the final result.

The final cleaned relief mould of ghosts, fall leaves and flowers.

Plaster and Alginate

img_6612
Sketchbook spread outlining process and ideas of alginate and plaster casting

I have previously worked with alginate before in Plaster Workshop, as well as throughout the plaster project. Because I previously completed a design of my hands, I wanted to adventure into a cast of my foot, or toes. The containers that we had use of only fit my toes, but I felt that this was sufficient for the cast that I wanted to get out of it. The alginate is a one time mould.

  • Get items ready for casting – tubs, water, item for casting
  • Add water to alginate. Different consistencies have different purposes;
  • THICK ALGINATE: this can be used on areas such as the face, ears, and vertical surfaces. Apply to the area with a paintbrush, getting into all the nooks and crannies for detail. Keep still, and once dry take off the cast. Make a mother mould using plaster bandages dipped in water. This keeps the alginate in shape.
  • THIN ALGINATE: place the object in the desired position in the tub and pour the alginate around the item. Tap the container to get rid of air bubbles in the alginate and allowing it to settle around the object. Keep still, and once dry take the item out of the cast.
  • Mix up plaster – pour a thinner mixture first to capture details. Keep adding until the mould is full, tapping the mould to get rid of air bubbles.
  • Once the plaster is dry, take off the alginate to reveal the plaster cast.

I was very pleased and surprised with the level of detail that the alginate and plaster were able to capture, as it even grabbed the dirt that was sat on the bottom of my foot. There is a certain delicacy with only doing the toes, and showing the sole of the foot which is often covered and protected. The added base keeps it routed the wrong way up.