Summer Week 1: Final Display Planning

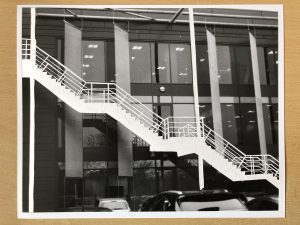
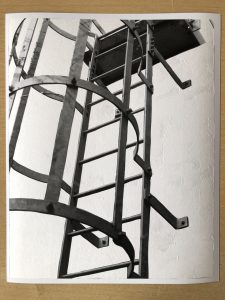
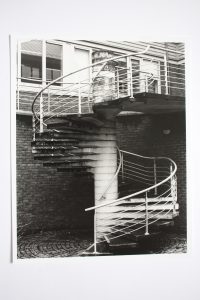
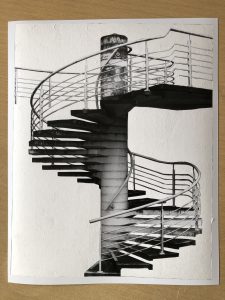
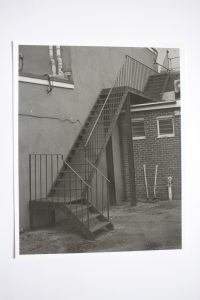
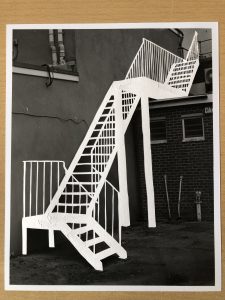
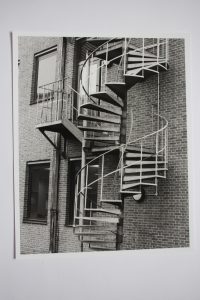
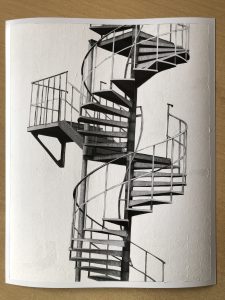
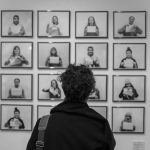
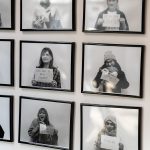
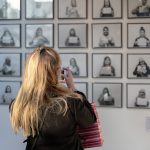
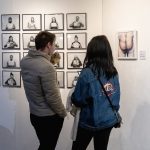
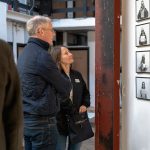
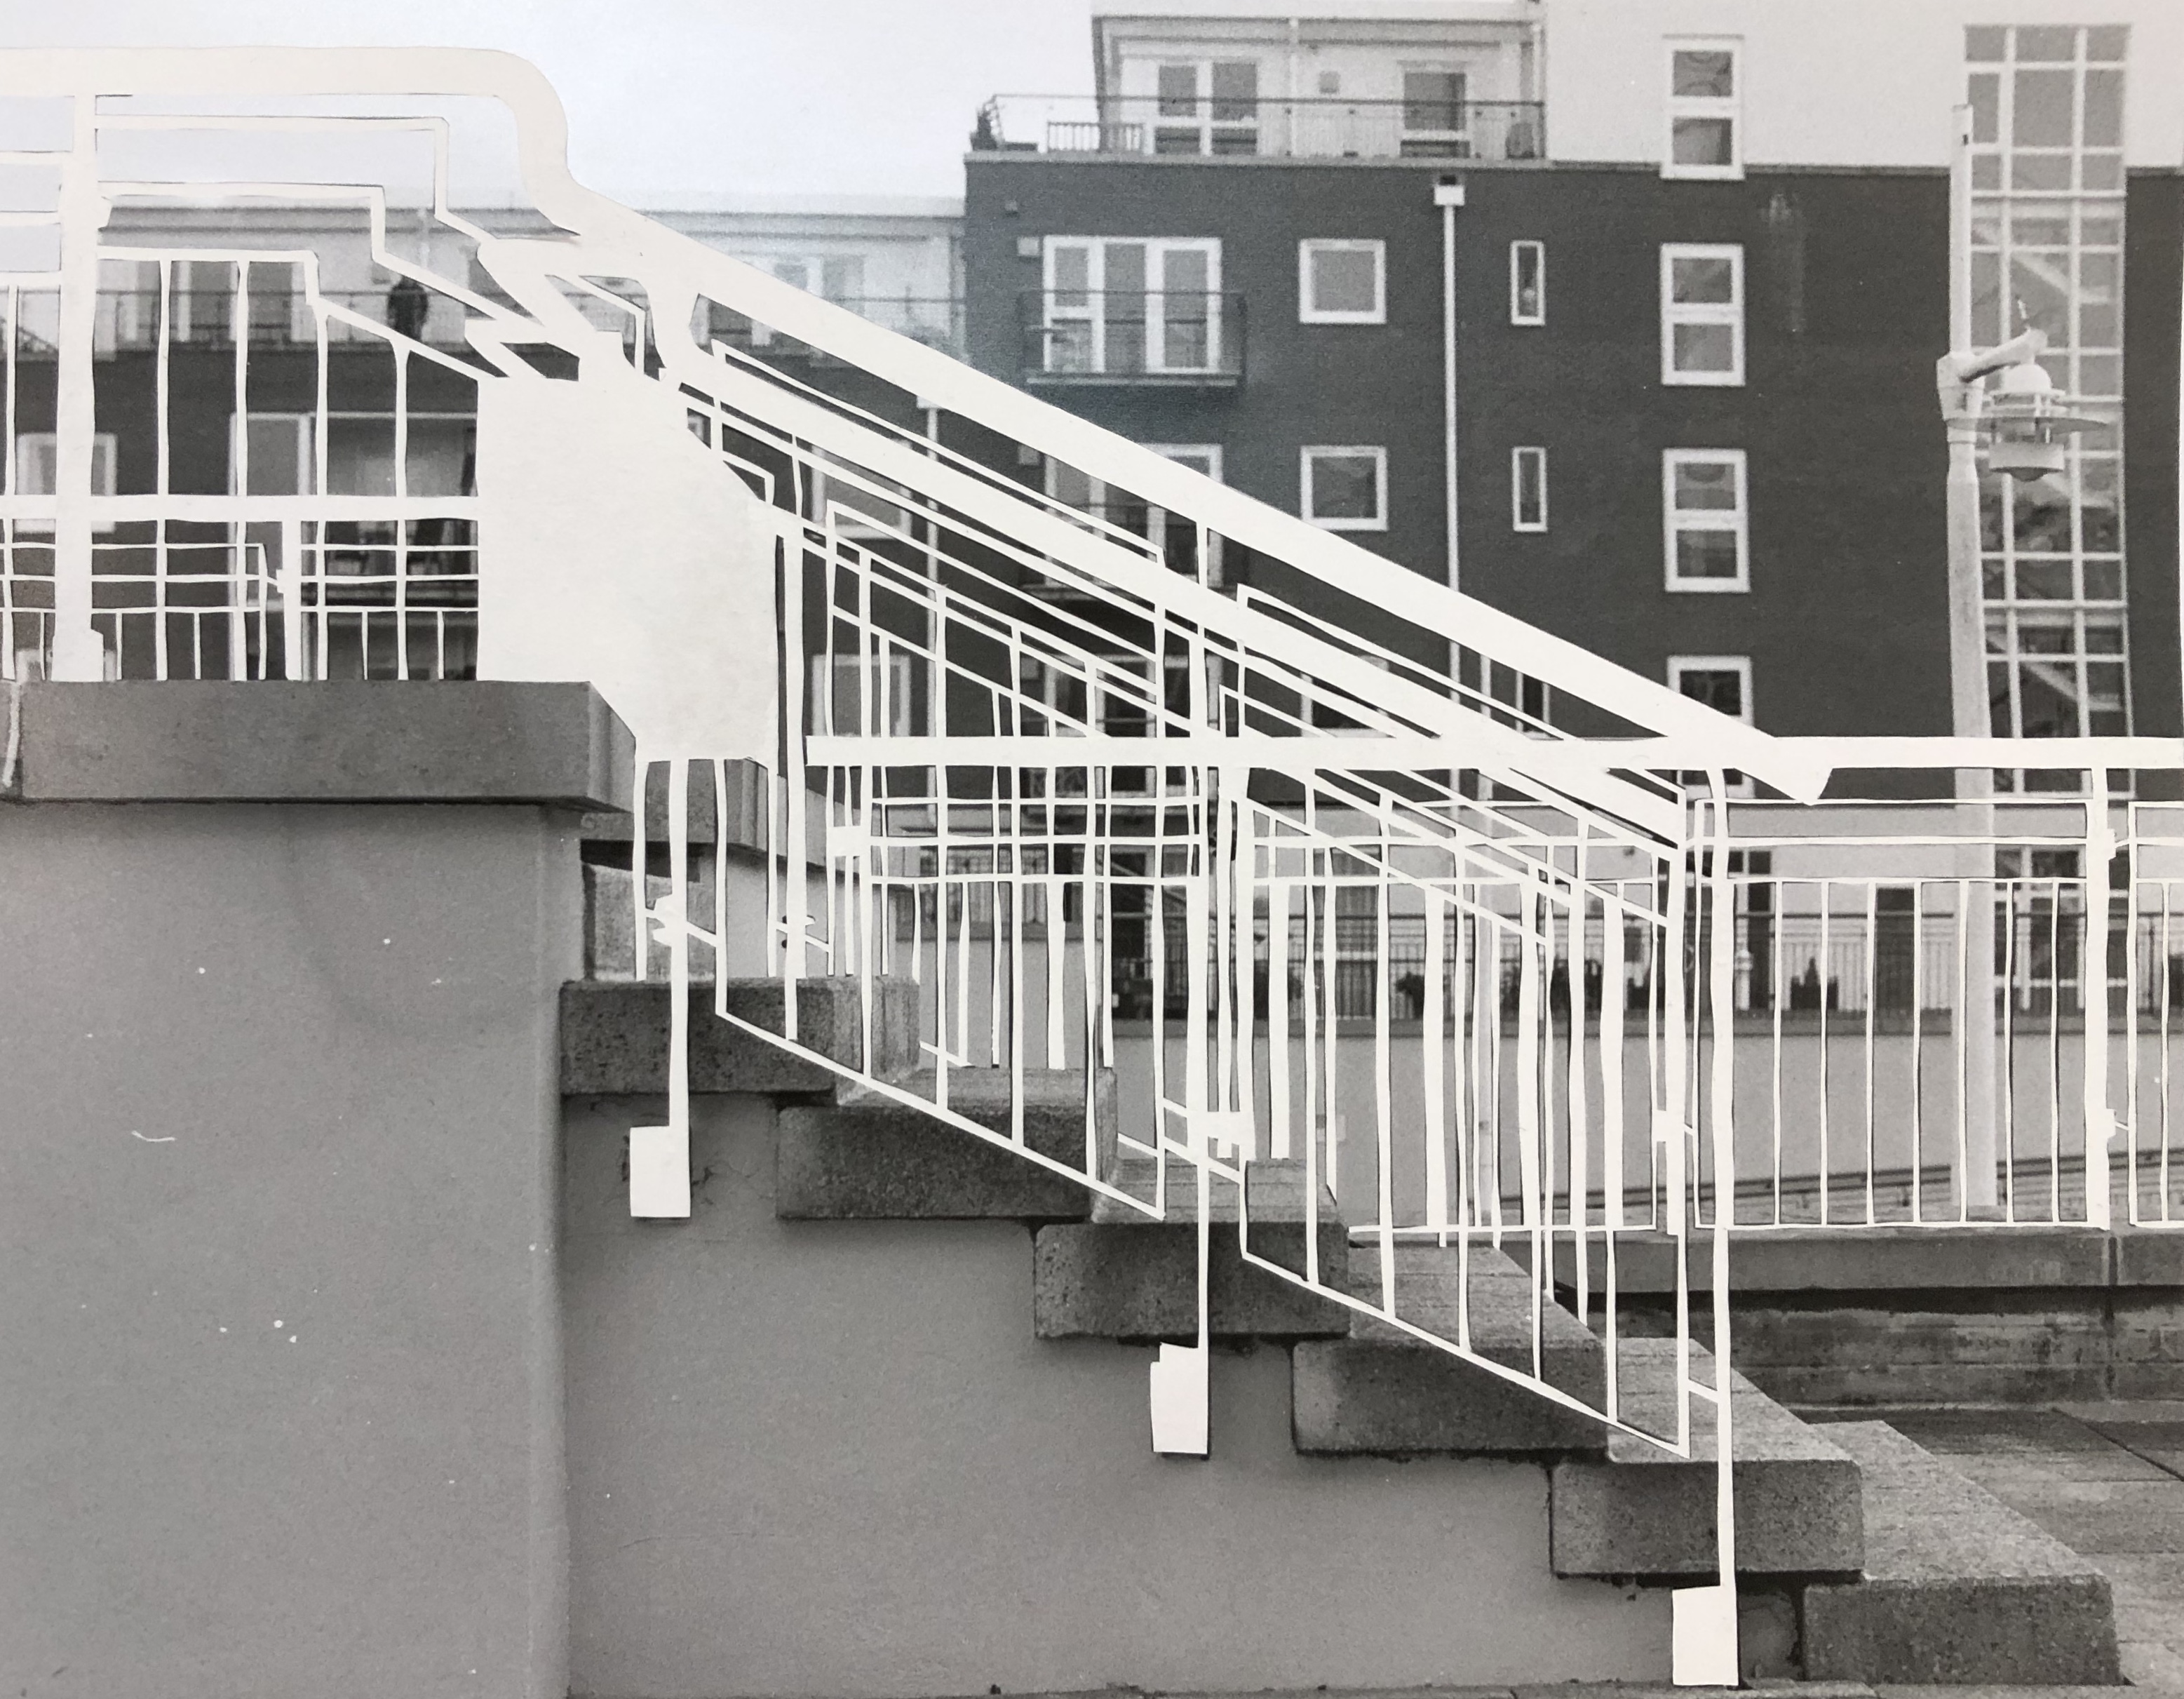
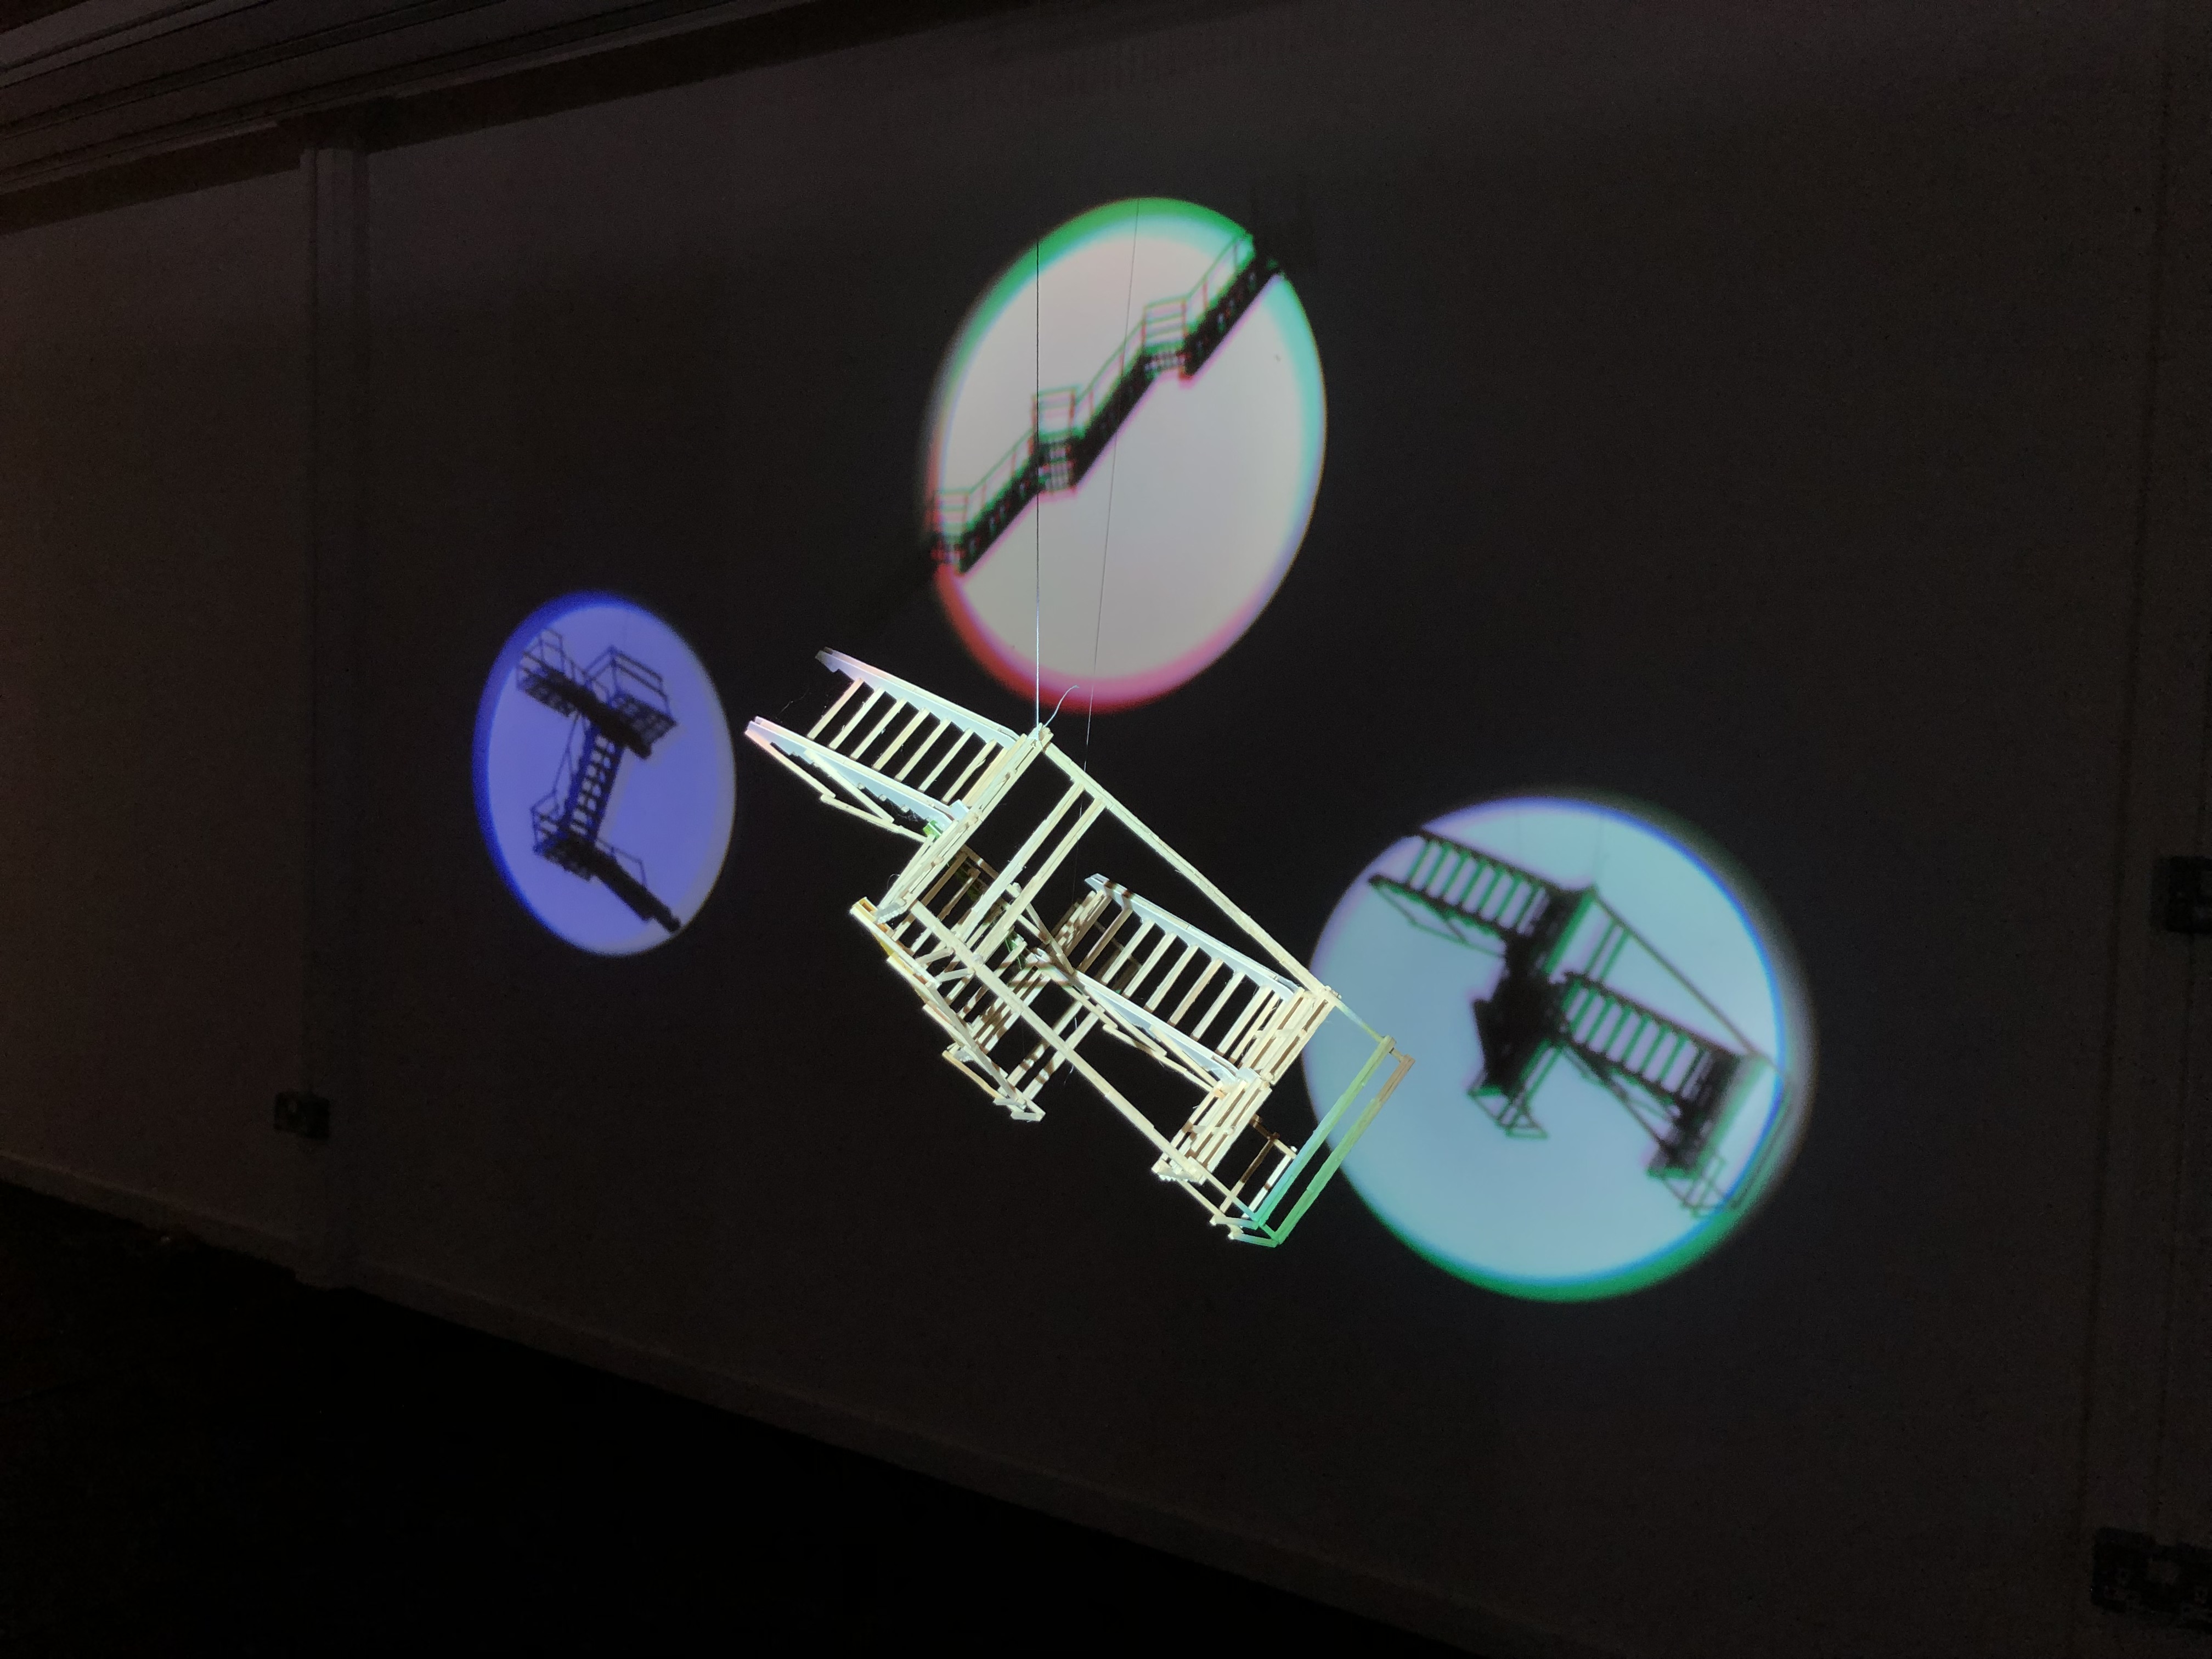
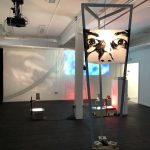
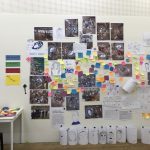
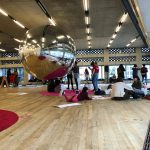
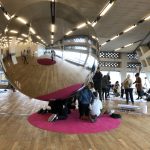
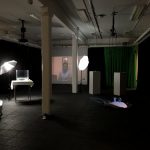
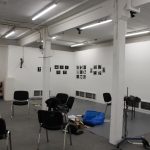
Over Easter, I originally designed four different layouts for the final, summative exhibition. I based a lot of this on the Week 8 exhibition where I found the circles and continuation of the stairs off of the piece to be very successful. These original designs were very full on, taking into account everything that I had done; cyanotypes, photograms, prints that had been cut into and the matchstick stairs. I wanted to display too much.

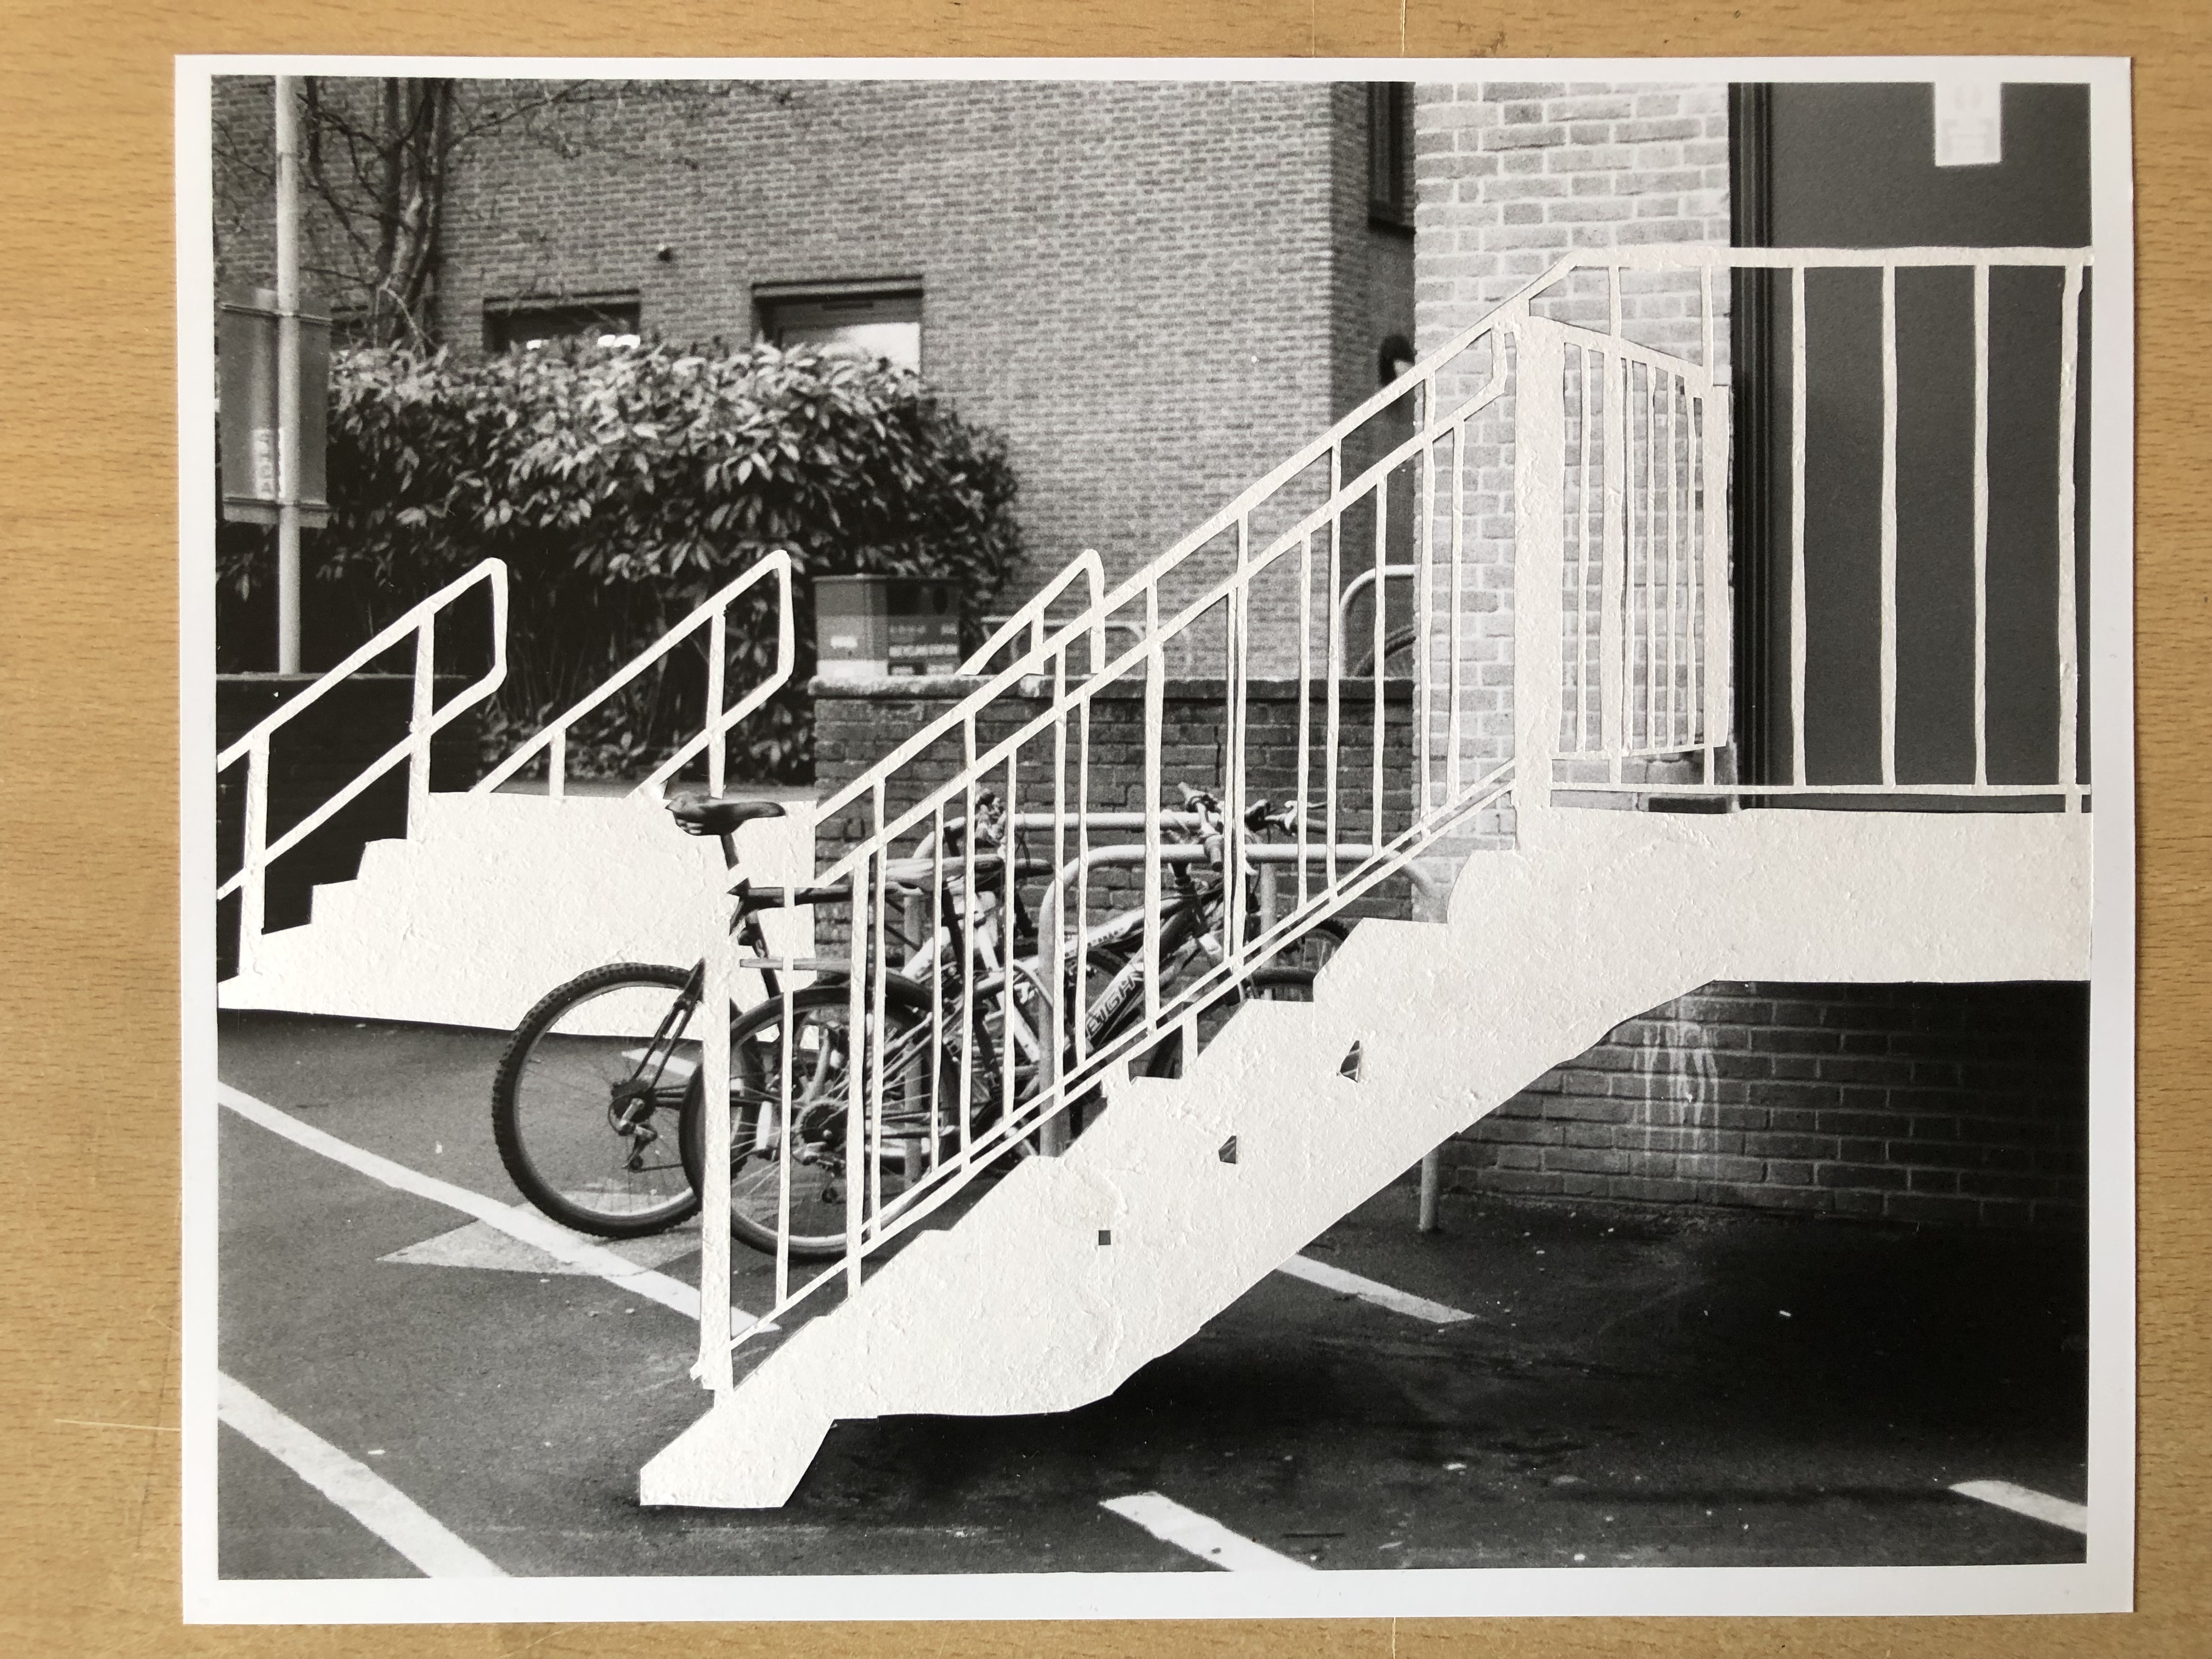
After a much needed conversation about my work, I realised that the simplicity of the piece worked best in the Week 8 exhibition. I had originally crossed the boundaries by making sculpture into a photographic substance, but I wanted to cross it the other way this time by making the photographic substance, sculptural.

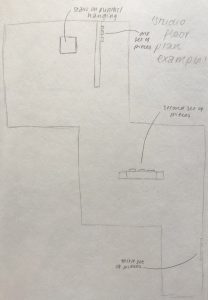
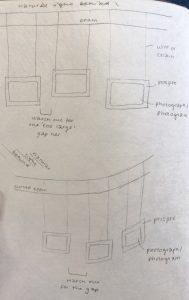
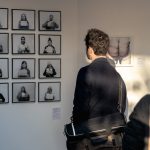
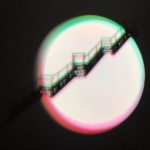
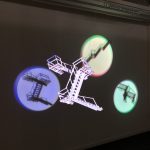
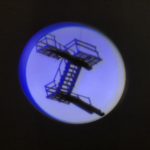
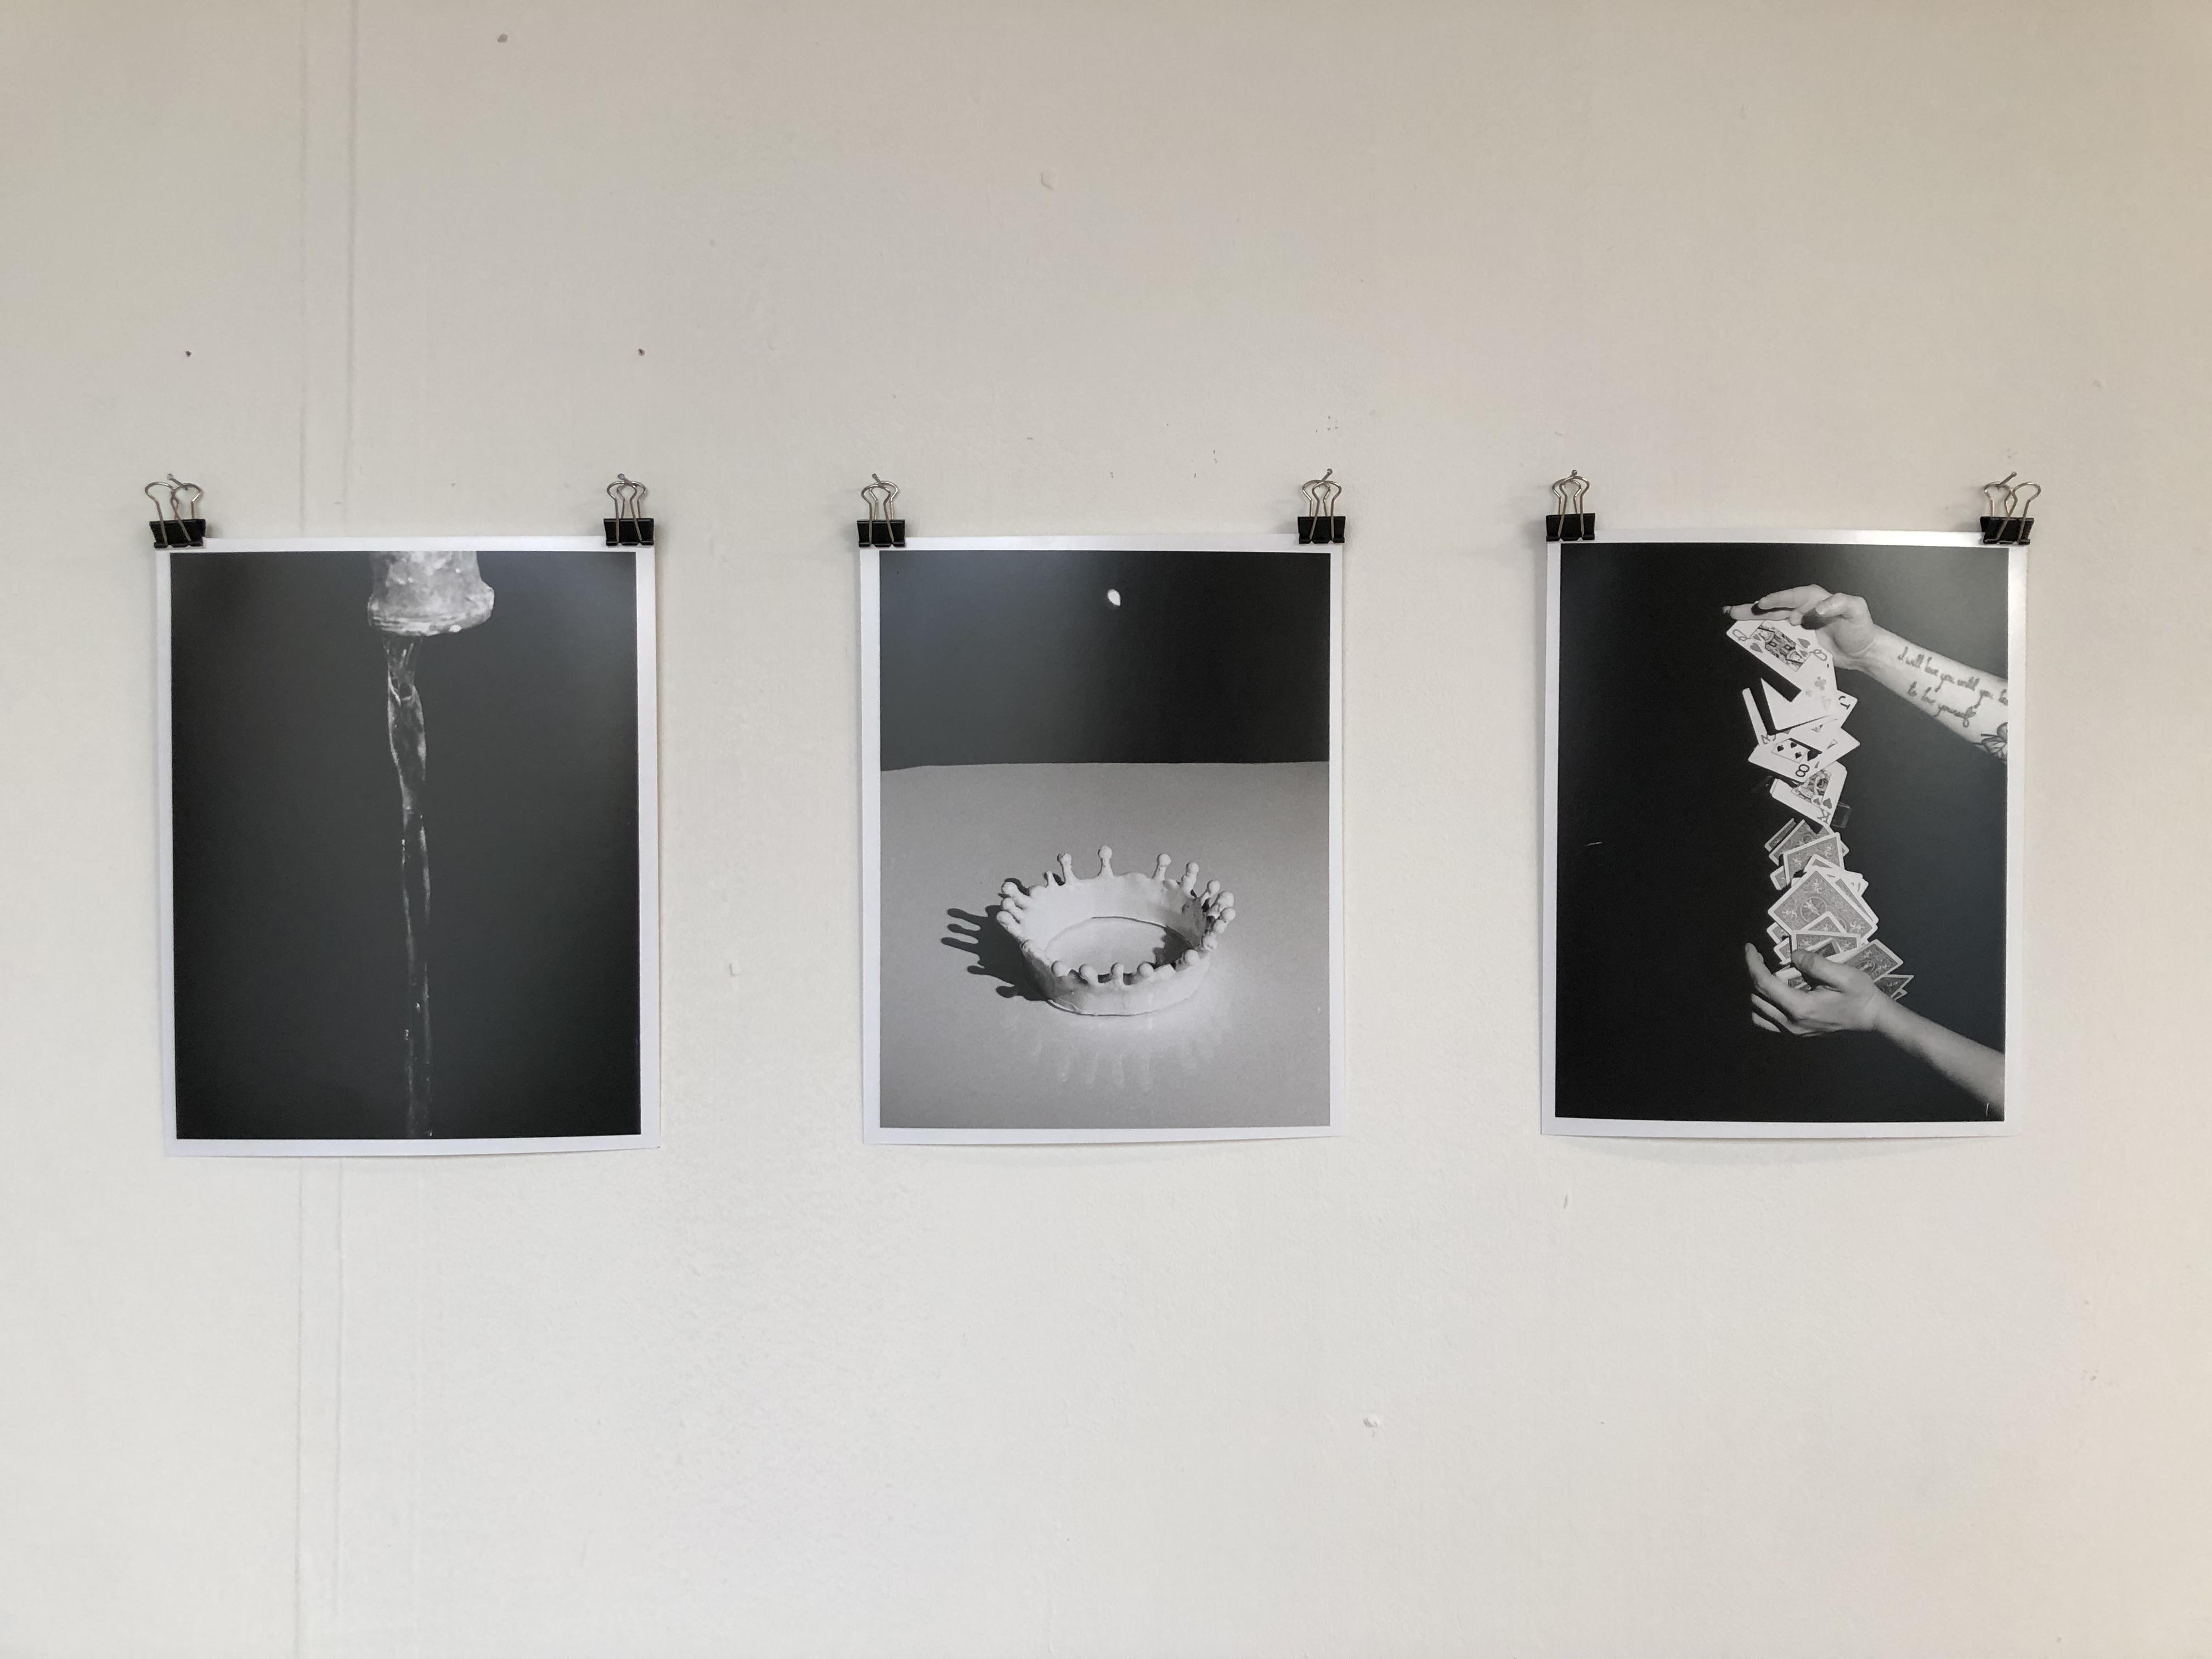
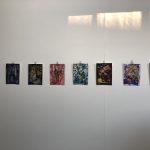
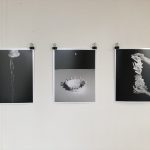
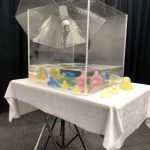
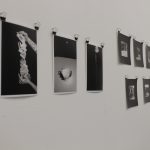
After much deliberation, I needed to step away from the automatic reaction to display things in a frame, and decided to utilise the cut out elements as the missing sculpture. By sandwiching the triptych of individual photographs in Perspex sheets, the light will be able to pass through and highlight this element. I would hang the photographs with cut out stairs from the beams in the art department in somewhere with lots of natural light. I would then hang a triptych of photograms from another beam near by, so that they are in conversation with each other. Because the photograms will not have the stairs cut out, I may have one on each side so that there are a total of three triptych’s in total. This is what I aim to experiment in the department with string and plastic sleeves.

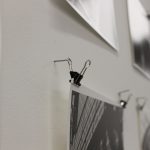
With the perspex, I am also looking to hang it with wire for a seamless look. I would also prefer wire to a thicker chain as it hints towards the thin lines that have been cut from the photograph, and almost translated into the material it now hangs from.

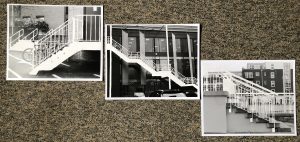
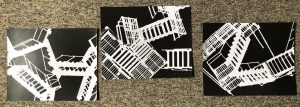
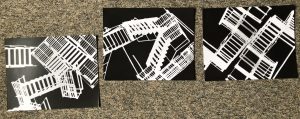
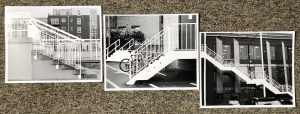
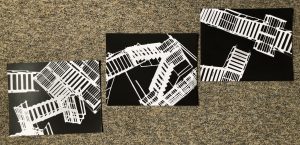
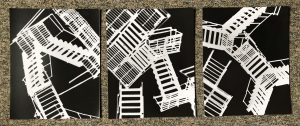
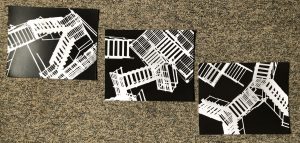
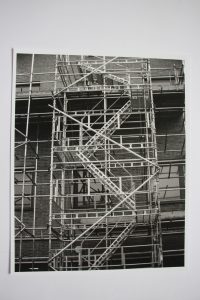
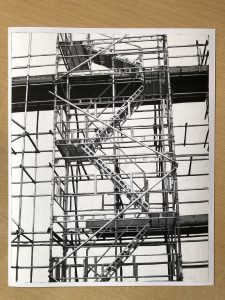
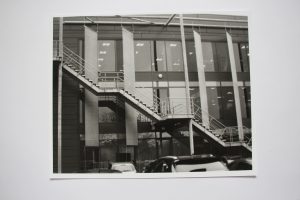
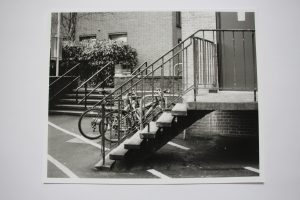
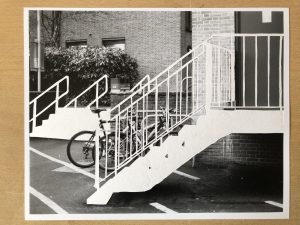
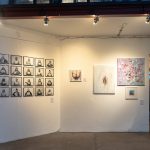
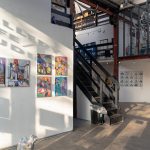
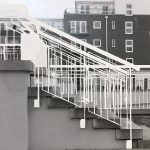
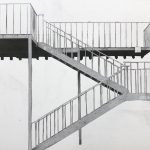
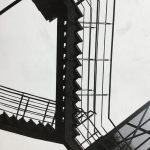
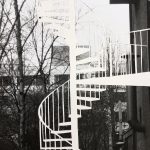
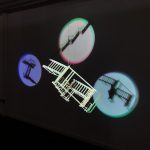
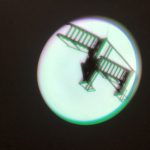
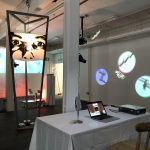
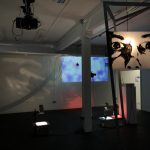
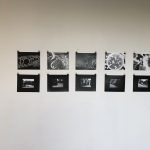
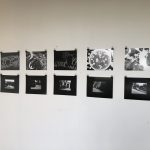
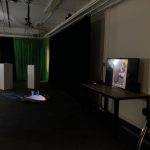
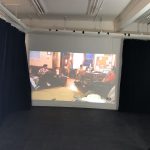
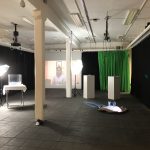
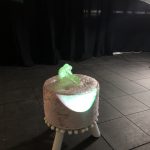
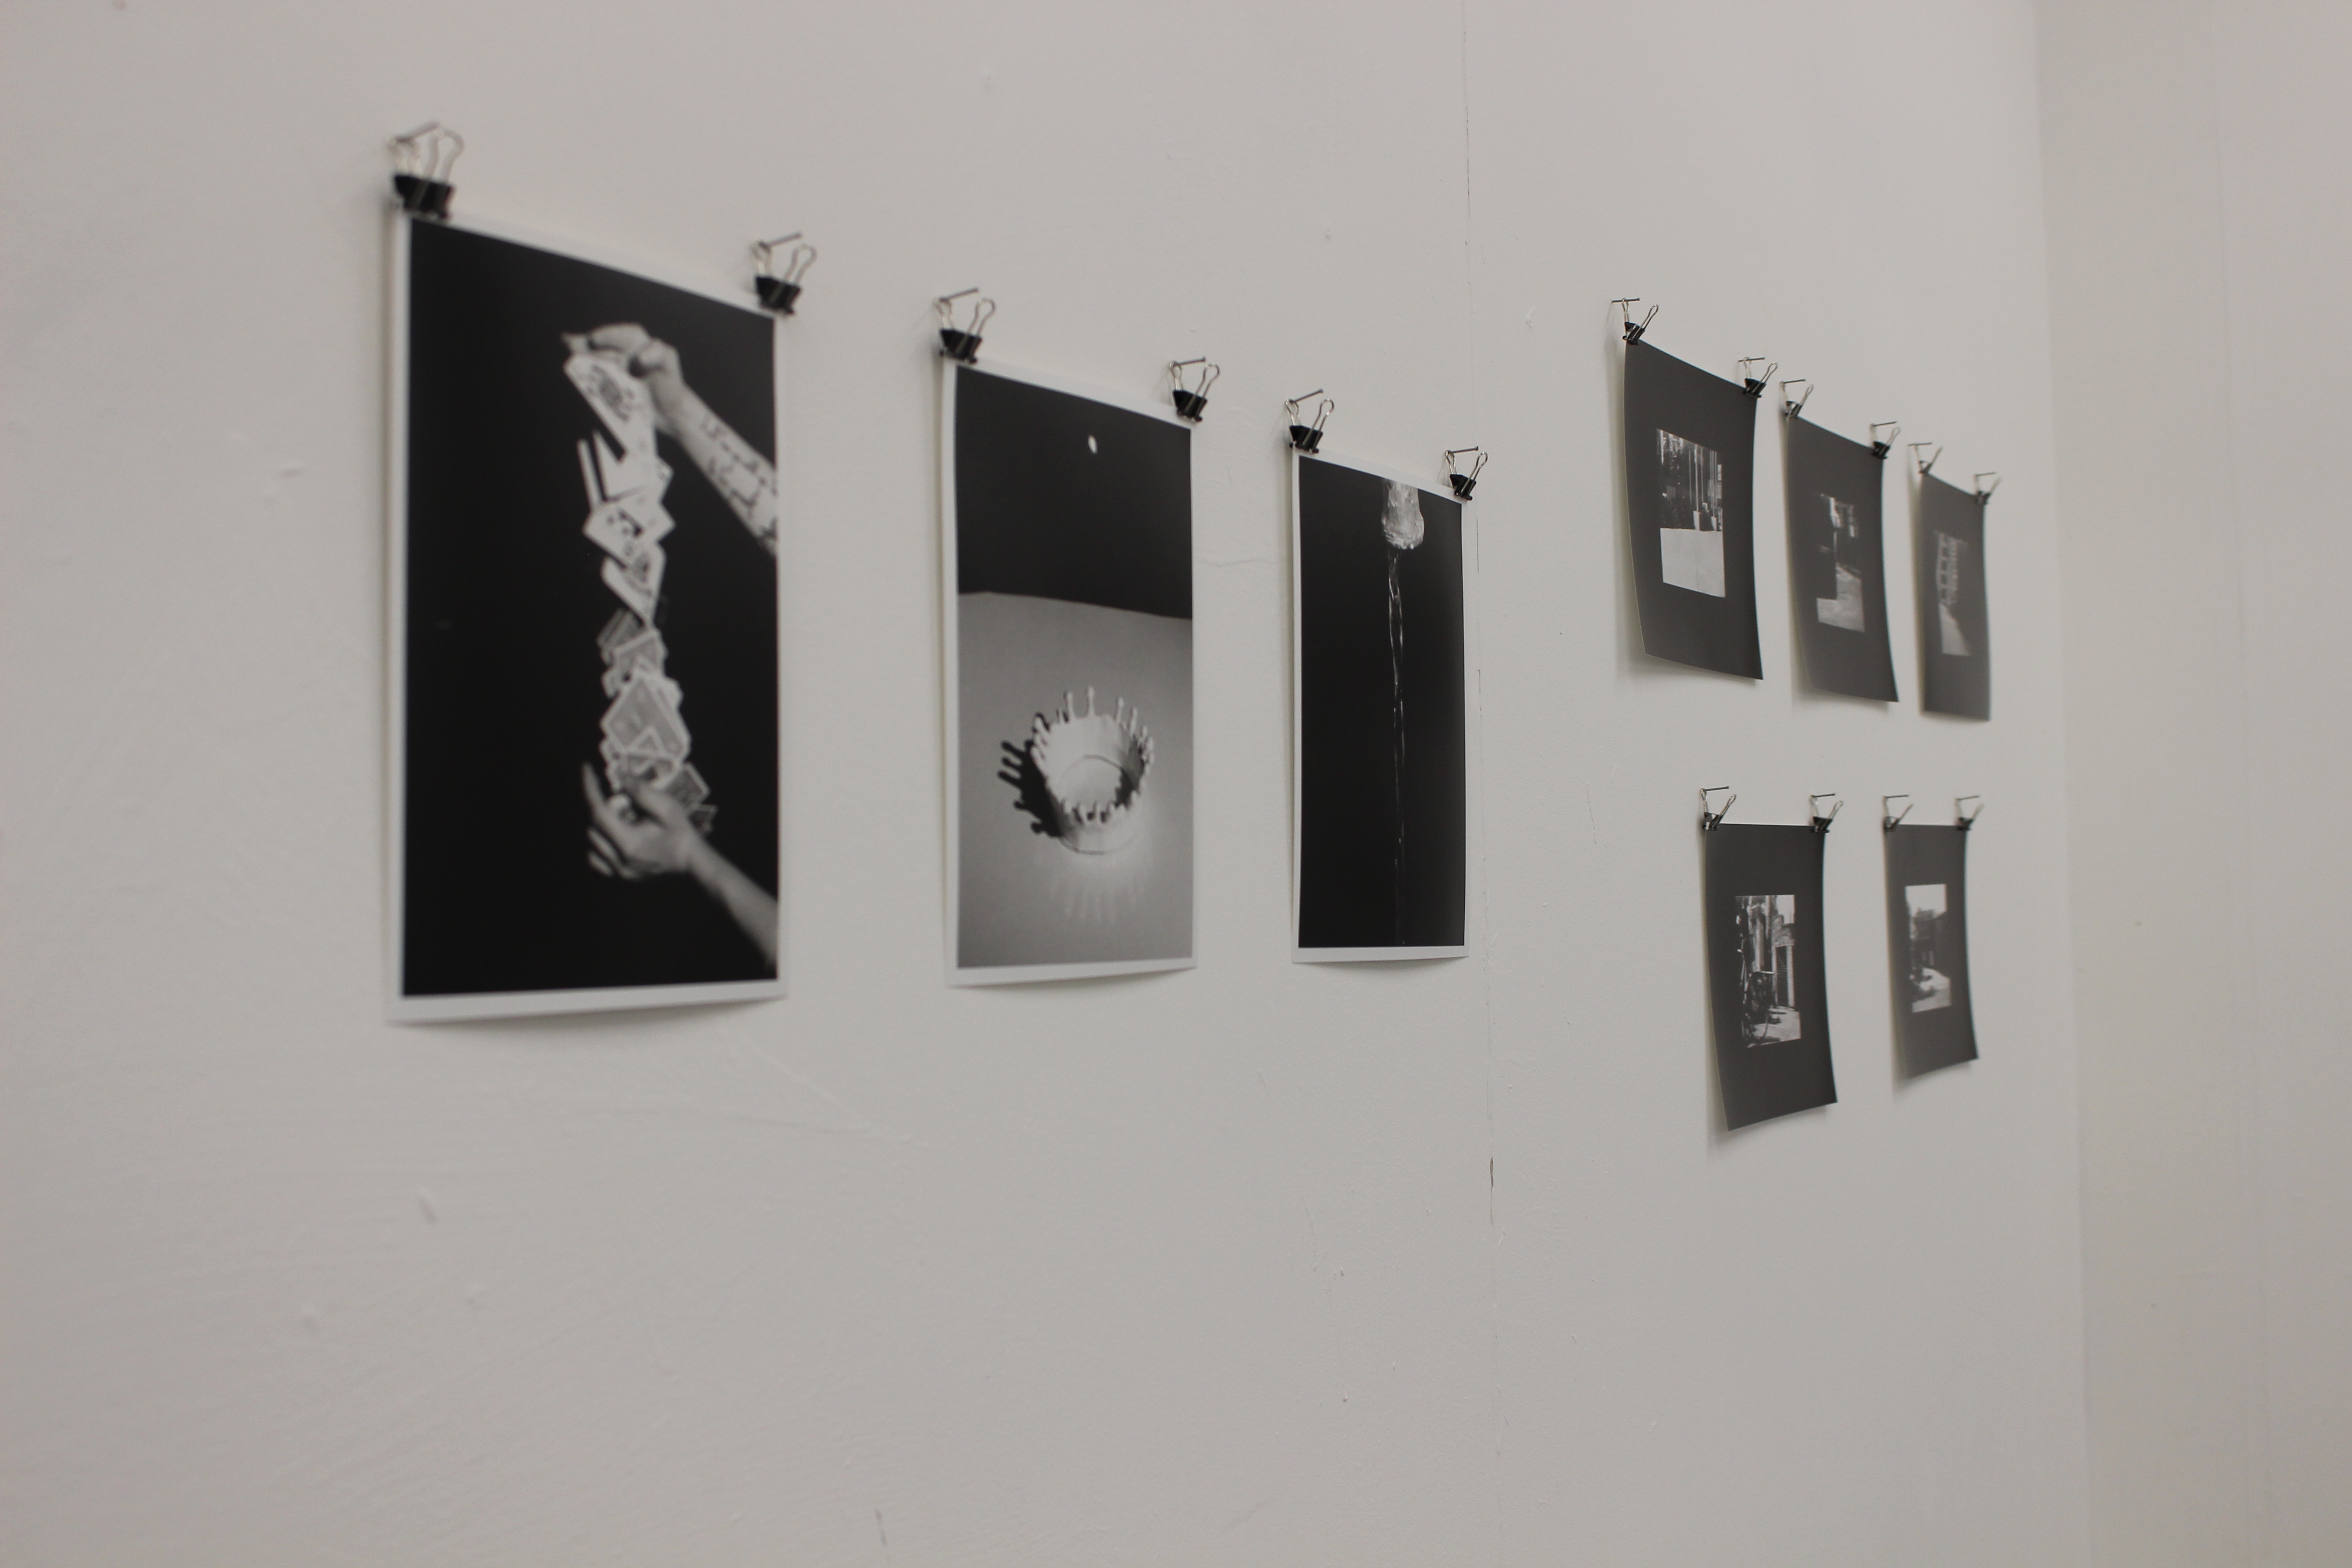
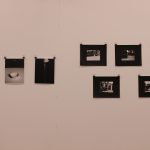
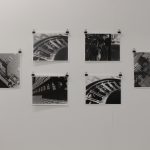
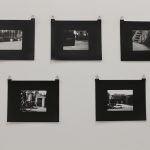
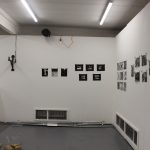
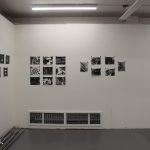
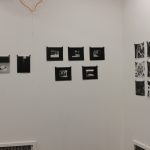
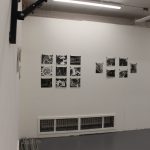
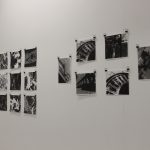
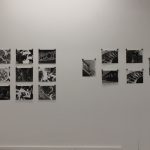
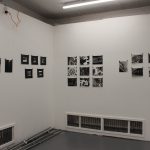
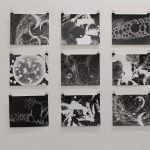
Above: A selection of possible display formats for the photograph set, and the up-to six photograms.

Easter 3: Cutting Photographic Prints

I wanted to further investigate the impact of cutting prints of photographs that I had taken after initially producing a small number of these. I wanted to go larger too, to see if this impacted the experience of the viewer from these empty spaces, determining what the stairs looked like, or the environment that they are supposed to belong in. I wanted them to be varying sizes so that I can display them alongside my photograms and cyanotypes as a juxtaposition and a hint to the different photographic methods that I have used alongside sculpture.

Due to the fragile nature of these prints, I would prefer that they are framed prior to exhibiting. With the larger prints that I have not yet cut into, it may be possible to leave ore on the photo to give a glimpse of the surroundings, unlike any other medium that I have used.

Small:
f11
32 seconds
No filter

Big:
f8
76 seconds
No filter

Small:
f2.8
6 seconds
No filter

Small:
f11
45 seconds
No filter

Small:
f11
30 seconds
No filter

Small:
f11
40 seconds
No filter

Small:
f11
23 seconds
No filter

Small:
f11
45 seconds
No filter

Big:
f8
90 seconds
No filter

Bloomin’ Exhibition London, Art Clubbers

I was invited to Stour Space, London, as part of Art Clubbers first exhibition, Bloomin’ – Growing into Art. This was somewhat a familiar experience of setting up exhibitions and collaborating together to ensure that all pieces were hung in a suitable time, and getting everyone the space that they wanted. I exhibited I Am Not The Label You Give Me as a set, the first time they have been framed after the Study Abroad exhibition earlier in the year. Stour Space is a gallery and working space for artists, and I enjoyed the set up of the gallery as well as it not being a clean cut space – it has been well loved and I feel like that not only added to my piece, but also the exhibition as a whole.

The opening was very exciting, with lots of people engaging and commenting on the works. It was the only photographic piece there and stood out due to its clear position from the door of the gallery, as well as the clear cut mode of presentation. Doing this exhibition has spurred me on to enter more calls for submissions in different areas to see my work in more of a professional space.

All images courtesy of Art Clubbers Facebook – Bloomin’ Into Art

Week 11: Cutting Photographic Prints

Inspired by Richard Galpin, I wanted to see what cutting into my prints would do to the stairs and how it would impact the visual simplicity that I am looking for in my work. I tested out my cutting on several of my worse photograms that I had completed earlier, using two designs – cutting out the background and, cutting out the staircase. I found both of them to work equally as well in their own right.

I then decided to do the same to some prints of stairs, to bring my work back to the ‘real world’ and to comment on the fact that we often ignore fire escapes and staircases that are outside. I used both techniques on two photographs, with each of them working well. I found that I was more attracted to the ones with more detail of the staircase, especially the one that is in front of other buildings. The simplicity of the lines coupled with the complexity of the image that are presented together allow the continual movement of the eye. I wish to do these bigger, with the staircase ending outside he boundary of the image such as in the spiral staircase.

Glass Casting Part 2: Derek the Duck

The first part of the glass casting workshop looked at moulding wax and creating a mould for the glass. The second part of the glass casting workshop worked with the cast class and hand grinding it. First step was to soak the plaster mould to weaken it and get the glass out. We were then able to break off some of the unwanted glass in a safe and controlled environment. To get rid of the larger, rougher edges, we used the technique of glass grinding with silicon carbide by hand (YouTube link). This was an intensive and very noisy process using grit and water on top of a thick piece of glass, and then grinding the object against this surface. Not only did I flatten off the bottom, but I also curved the grinding round so that some more of the bits that stuck out were smooth and in line with the bottom and the side of the design. The final product was a flat bottomed platypus/duck in a canoe.

Week 8 Exhibition

Within the Week 8 Studio 3 Exhibition, I displayed in the AV Room, down the corridor from the studio space. This area was curated by four of us, ensuring that everyone had the space that they needed, and the audience were able to interact with each piece in the intended fashion. I displayed all three designs of the matchstick stairs, hanging them from the ceiling with a different coloured spotlight on each. The different colours of these was an unintentional element that added to the work, highlighting the differences between them and allowing the evaluation of the individual staircases. There is also a practical element to the spotlights, as they ensured people did not walk into the staircases that were suspended from the ceiling. When people did walk past them, there was an element of motion that was carried forth into the staircase as they would slowly rock back and forth.

The blurriness of each image added to the element of optical illusion. This somewhat stepped in the opposite direction that I originally intended with the stairs, as I wanted them as real as possible, such as in the negatives I have recently developed. However, as they are hanging you can see their positioning, but you are more captivated by the almost primal draw of the shadow from the spotlight.

I found that I enjoyed these elements coming together, and I want to explore the elements of real versus optical illusions through the use of shadow and light. One way to do this may be through the use of photograms, or using some of the negatives that I have already produced. I am not sure what my next steps will truly be as there are now multiple paths I could go down.

Tate Exchange 2019

I was invited back to the Tate Exchange 2019 with Art Lab for ‘a series of participatory workshops that will enable visitors to explore the theme of movement’. There were several stations on the 5th floor of the Blavatnik Building in Tate Modern that lead people through different types of motion. Some of these were by other departments from the School of Arts and Graphic Communication at the University of Reading, including performance workshops and conversations around the theme of travelling and movement.

One of these was a ‘listen and draw’ activity, asking people to react on paper with pens and pencils to what they heard on headphones, in a silent disco manner. The sound recordings were made by first year students in the module Reading Objects Writing Images. Both schools and members of the public found this a very fun activity which allowed freedom around the papered space. As they were approaching a large piece of paper that was not blank, it was less daunting and allowed further engagement from those of all ages.

The second station of Art Lab’s was that of a selfie sphere which was a big shiny ball suspended from the ceiling. Participants were invited to draw a self portrait in this sphere and then take a 360 image with a GoPro with these self portraits on their head. We found that many would want a photo without the drawing, however it was still a very engaging activity with all ages.

The last station that Art Lab ran was the one I helped out most frequently with over the weekend. This used Augmented Reality (AR) through an iPad, which was placed onto a TV screen. It was originally intended for people to act like sculptures, recreating images, however it ended up that people were interacting more with the objects and animals that we were placing on the screen. We also found that this interaction caused a lot more enjoyment, and allowed us to play around more with the software. It was particularly funny to see the confused faces of those who saw the object on the screen, but not on the ground in front of them.

I also helped in the social media management of the event, posting to @artlabuor and @unirdg_art Instagram accounts to promote the activities. Interacting in a different way than helping out at the stations allowed me to see more of the background work that goes into such a large event. I look forward to see more of the running of large events such as this, and helping in the Tate Exchange with ArtLAB next year.

Study Abroad Exhibition

The study abroad exhibition was a hit success with works being displayed by Romaisa BhattiCeldice JamesHira SyedZoë LeeChristine Glover and myself. We had a wide range of practices coming together in two locations to create a flowing exhibition, showcasing the work done while on study abroad in the previous term. I initially had concerns with my photography pieces being opposite windows due to reflection, however this was a smaller problem than first thought. I also felt that it was wise that I did not frame any of the pieces, as the uniform bulldog clips that I had practised in the exhibition preparation worked well for all of the pieces of work. Overall, I was happy to be part of the exhibition and found it a success. In the future, I aim to be more aware of the flow of people especially when there is work between two locations that are blocked by a locked door.

Glass Casting Workshop Part 1

Th glass casting workshop looked at the lost wax glass casting technique, using the kiln to melt the glass in a pre-formed mould. We started with moulding wax, shaping it into our desired final object. I had inspiration from bath toys, creating a platypus in a kayak. The shape we made is a positive mould, meaning the glass will be in the same shape as the wax. The displacement of the water in the jug shows how much glass we will need in a later step.

The wax then sits on top of a cone of clay, building a wall around it to hold the plaster and flint mix. The cone is used as a pouring vessel for the glass, with the sticks allowing the glass to really get into the smaller areas.

A mix of water:plaster:flint 1:1:1 was used. My walls were not strong enough and split, pouring around half of my plaster mix onto the board. I wrapped the mould in cling film, ensuring that the wall was together, and put clay at the bottom to prevent more coming out. More plaster was then poured in to complete the mould.

The clay dried quickly and I was able to take off the clay walls, and the clay cone came out smoothly, giving a nice big area for extra glass to sit in.

We used steamers to try and get the wax from inside of the moulds, however we were trying to do three at a time which was unsuccessful. Getting the wax out with the steamer one mould at a time was more successful, and was clear once washed out with hot water a couple of times. Once the wax was gone, we measured out the glass using the same water displacement system as measuring the volume of the wax. I ended up with too much glass, but tried to pour in as much smashed glass as I could as I did not mind a base to my piece. These are waiting to be sent of to the kiln, where the glass will melt and get into the details of the mould. We will get these back in a couple of weeks once they are out of the kiln and cooled.

Study Abroad Exhibition Preparation

I decided to set up my assignment pieces from my study abroad in Ottawa to determine whether I liked the idea of bulldog clips to display my work for the study abroad exhibition coming up, and subsequently for the week 8 and final exhibition. I found that it was more successful than anticipated. I was able to put foam between the clip and image to avoid damaging the print, which was successful for many of the prints.

The most unsuccessful parts of this pre-run was the lighting of the area I was in, and the ‘squeezed in’ rushed effect that was produced with the work crowded together. I would have liked to have seen how the frames worked also, however these were too large for the images themselves and the images kept slipping in them. I am going to look for another option before the exhibition and ensure that they are displayed in an area that shows them off, rather than hinders them.