Invented Negatives and Photograms

Photograms is a method where you create images by placing objects directly on the photographic paper and exposing them to light in the dark room. Where light hits, it turns dark, and where light has been prevented from touching the paper, it stays white. This can also be referred to as dodging (remove light) and burning (add light).
Invented negatives involve using the enlargers that are found in the darkroom to project an image that you have made onto the paper below. I used hair and spit projected onto the paper to create many of the images, as there was a false perspective drawn immediately when focusing the enlarger. Using the enlarger also allowed me to get comfortable with it before moving on to 35mm photography.
The collection that I created used many found materials. I found that the simpler designs worked best, although I felt like I had run out of time and energy to explore the concept further. I enjoyed confusing people with what the images were, and felt that I wanted to work more with bodily fluids as the spit was very interesting to manipulate. These are all things that I will considerate if I go back to creating photograms and invented negatives.
Ten of these were picked for sans camera, the first photography assignment.

Pinhole Camera Positive to Negative

What is created in the camera is negative images. The more light that has hit the paper, the darker it will be. The less light that has hit the paper, the lighter it will be. To see the positive images before developing, I used the inverted screen on iPhone, which was successful in showing me which photographs looked successful in positive.

To make the positive images, a glass easel was used by placing the negative emulsion side down to the new photographic paper that is emulsion side up. This will invert the image as well as the hues to create a positive image. Before choosing the settings of time and filter in the darkroom, a test strip was completed before developing any of the negatives into final positives. Below is two examples with 5 second steps and using two different filters; a 2 and 2.5. The higher the number of the filter, the bigger the step in tones, which allows you to see detail very well. You are able to see in the left hand image that there is more detail of the building, however the right hand side shows more detail and clarity overall. This process was completed each time before a positive was made to determine the timing and filter that needed to be used for that image.

I was very pleased with the final positive images and my understanding of filters and the use of the enlarger in the dark room. I did find that there were dark streaks appearing across my paper and this was due to an unclean developing technique. I tried to rectify this, however I believe the chemicals were being held in the tongs. I would like to try with a new pair to see if this continues to happen. I enjoyed this project as it was something completely different to what I was used to, and allowed me to step outside my box a little. It was difficult not knowing what I was taking an image of, however that was part of the excitement. When viewing other people’s works, many of us had taken an image of the stairs behind the building, and it was interesting to see the many different perspectives of the one item. I would like to carry on with pinhole photography and the idea of the unknown and the concept of taking an image of the mundane and making it seem beautiful and interesting.
Five of these were chosen for sans camera, the first photography assignment.

Making A Pinhole Camera

Pinhole cameras involve the creation of your own camera. You can use many different boxes or tins to create a camera. The process that I completed includes;

  • Find an almost light-tight cardboard box and cut a hole to fit a side of a tin can. Tape up any light cracks inside the box, including corners and joints
  • Cut a square out of a tin can big enough to cover the hole you have just made in the cardboard box
  • On this square of can, use a pin head to hammer in a hole – the smaller the hole, the longer the exposure time BUT do not make a very large hole as this will be more difficult to work with. Sand down the hole so there is no lip that the light can ‘catch’ on
  • Stick the can to the inside of the cardboard box using electrical tape. Make sure not to cover up the hole
  • Make a shutter/a flap for the outside of the box, so that you can control the light into the box. Test this so you know you can remove it and put it back on safely
  • When in the dark room, place your photographic paper, which is sensitive to light, at the back of the box making sure that the emulsion side is facing the hole. Seal the box using electrical tape. If you are unsure if your box is completely light tight, add an aluminium foil lid which will keep it light tight
  • Put into position outside, facing something that has sunlight hitting it, or in a desired position if cloudy. You will have to do several tests to determine your exposure time. For my box, it was 5 minutes. The faster the exposure time, the more likely you are to get camera blur from people, items or the camera moving. There is a high level of maths that can get involved however, most of the time it is trial and error
  • Once you have captured your image, go back to the darkroom and develop the image in the appropriate chemical baths. As your negative image comes out, you can determine whether you need a longer or shorter exposure time

Relief Mould

  • Collect the items that you want to use in the relief mould. These items can be any shape, size and consistency. The hard objects will make very direct moulds, whereas soft objects may appear unclear.
  • Roll out a large amount of clay into a desired shape. Depending on the thickness of the clay, will depend on how far in you wish to push your objects – the more projecting you want the design, the thicker the clay will need to be.
  • Once the clay is the desired size and thickness, start pressing your objects in. A pattern may not be necessary here.
  • Use a rolling pin and your hands to firmly press the objects in.
  • When they are a desired depth, take all the items out. You may need tweezers for this, especially when getting smaller items out that may be stuck in the clay.
  • After all objects are out of the clay, build a tall, thick clay or cardboard wall around the outside, ensuring it is at least double height and liquid-tight.
  • Mix some thin plaster and pour into the mould, ensuring to cover the clay with a layer to get all the detail of the relief. Keep pouring plaster until the cast is at least 3/4″ thick. This will allow for a sturdy piece that will not break too easily.
  • While the plaster is setting, make a hook out of wire, twisting it for extra strength. Add the hook when the plaster is able to hold it, without letting it sink. This is optional
  • Once the plaster is set, take off the clay. It can now be cleaned with water and a paintbrush to remove the clay.
  • And you have a relief cast.

Making the items flat in the mould was considerably difficult, especially while using a rolling pin. For the mould to be very prominent, you had to push each item in further, which was sometimes difficult with the delicate leaves. I also had problems getting some of the ghosts out. Although these problems occurred, I still found the project enjoyable, and I was pleased with the final result.

The final cleaned relief mould of ghosts, fall leaves and flowers.

Plaster and Alginate

img_6612
Sketchbook spread outlining process and ideas of alginate and plaster casting

I have previously worked with alginate before in Plaster Workshop, as well as throughout the plaster project. Because I previously completed a design of my hands, I wanted to adventure into a cast of my foot, or toes. The containers that we had use of only fit my toes, but I felt that this was sufficient for the cast that I wanted to get out of it. The alginate is a one time mould.

  • Get items ready for casting – tubs, water, item for casting
  • Add water to alginate. Different consistencies have different purposes;
  • THICK ALGINATE: this can be used on areas such as the face, ears, and vertical surfaces. Apply to the area with a paintbrush, getting into all the nooks and crannies for detail. Keep still, and once dry take off the cast. Make a mother mould using plaster bandages dipped in water. This keeps the alginate in shape.
  • THIN ALGINATE: place the object in the desired position in the tub and pour the alginate around the item. Tap the container to get rid of air bubbles in the alginate and allowing it to settle around the object. Keep still, and once dry take the item out of the cast.
  • Mix up plaster – pour a thinner mixture first to capture details. Keep adding until the mould is full, tapping the mould to get rid of air bubbles.
  • Once the plaster is dry, take off the alginate to reveal the plaster cast.

I was very pleased and surprised with the level of detail that the alginate and plaster were able to capture, as it even grabbed the dirt that was sat on the bottom of my foot. There is a certain delicacy with only doing the toes, and showing the sole of the foot which is often covered and protected. The added base keeps it routed the wrong way up.

Reading Scholars 2018, Final Event Video

This was the final event for the Reading Scholars 2017/18, held at the University of Reading over three days and two nights. Such as the second event in Tate Modern, I was once again asked to create a video to display the activities that the Scholars got up to over this residential. Although all the strands were at the University, including Business, Biology, Maths, English, Art, Chemistry and Languages, the video primarily captures the events of the Art and Design strand. Activities here, included cyanotypes, photograms, clay, sculpture, instructional artwork, letter press and InDesign work. Each of the Scholars were able to take what they had made with them as something to remember the Reading Scholars by, and something unique to add to their portfolio.
I enjoyed creating this video, and look forward to working with the next cohort of Reading Scholars on some new and exiting projects and events.

Reading Scholars 2018, Final Event

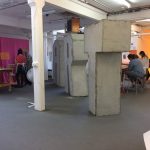
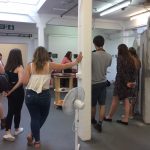
The fourth and final event with the Reading Scholars was a three day residential, where the students were able to stay in university halls and enjoy several other aspects of their time here that they may not have been able to experience without the residential element. Within the Art and Design strand, students were able to choose whether they wanted to partake in the Art or Typography activities.
Those who chose art were then split into two groups, where they completed an activity one day, and then swapped over for the second day, which gave the opportunity for more contact with the lecturers and mentors, and a larger chance to get hands on.
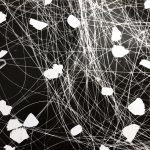
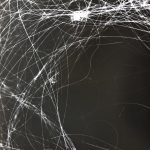
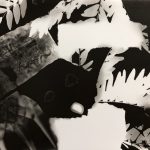
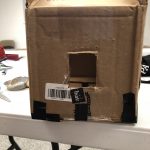
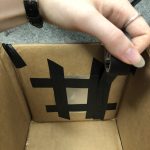
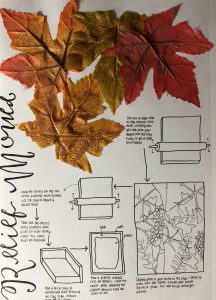
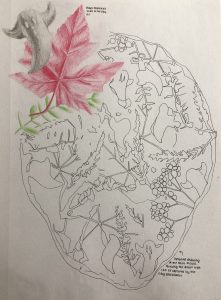
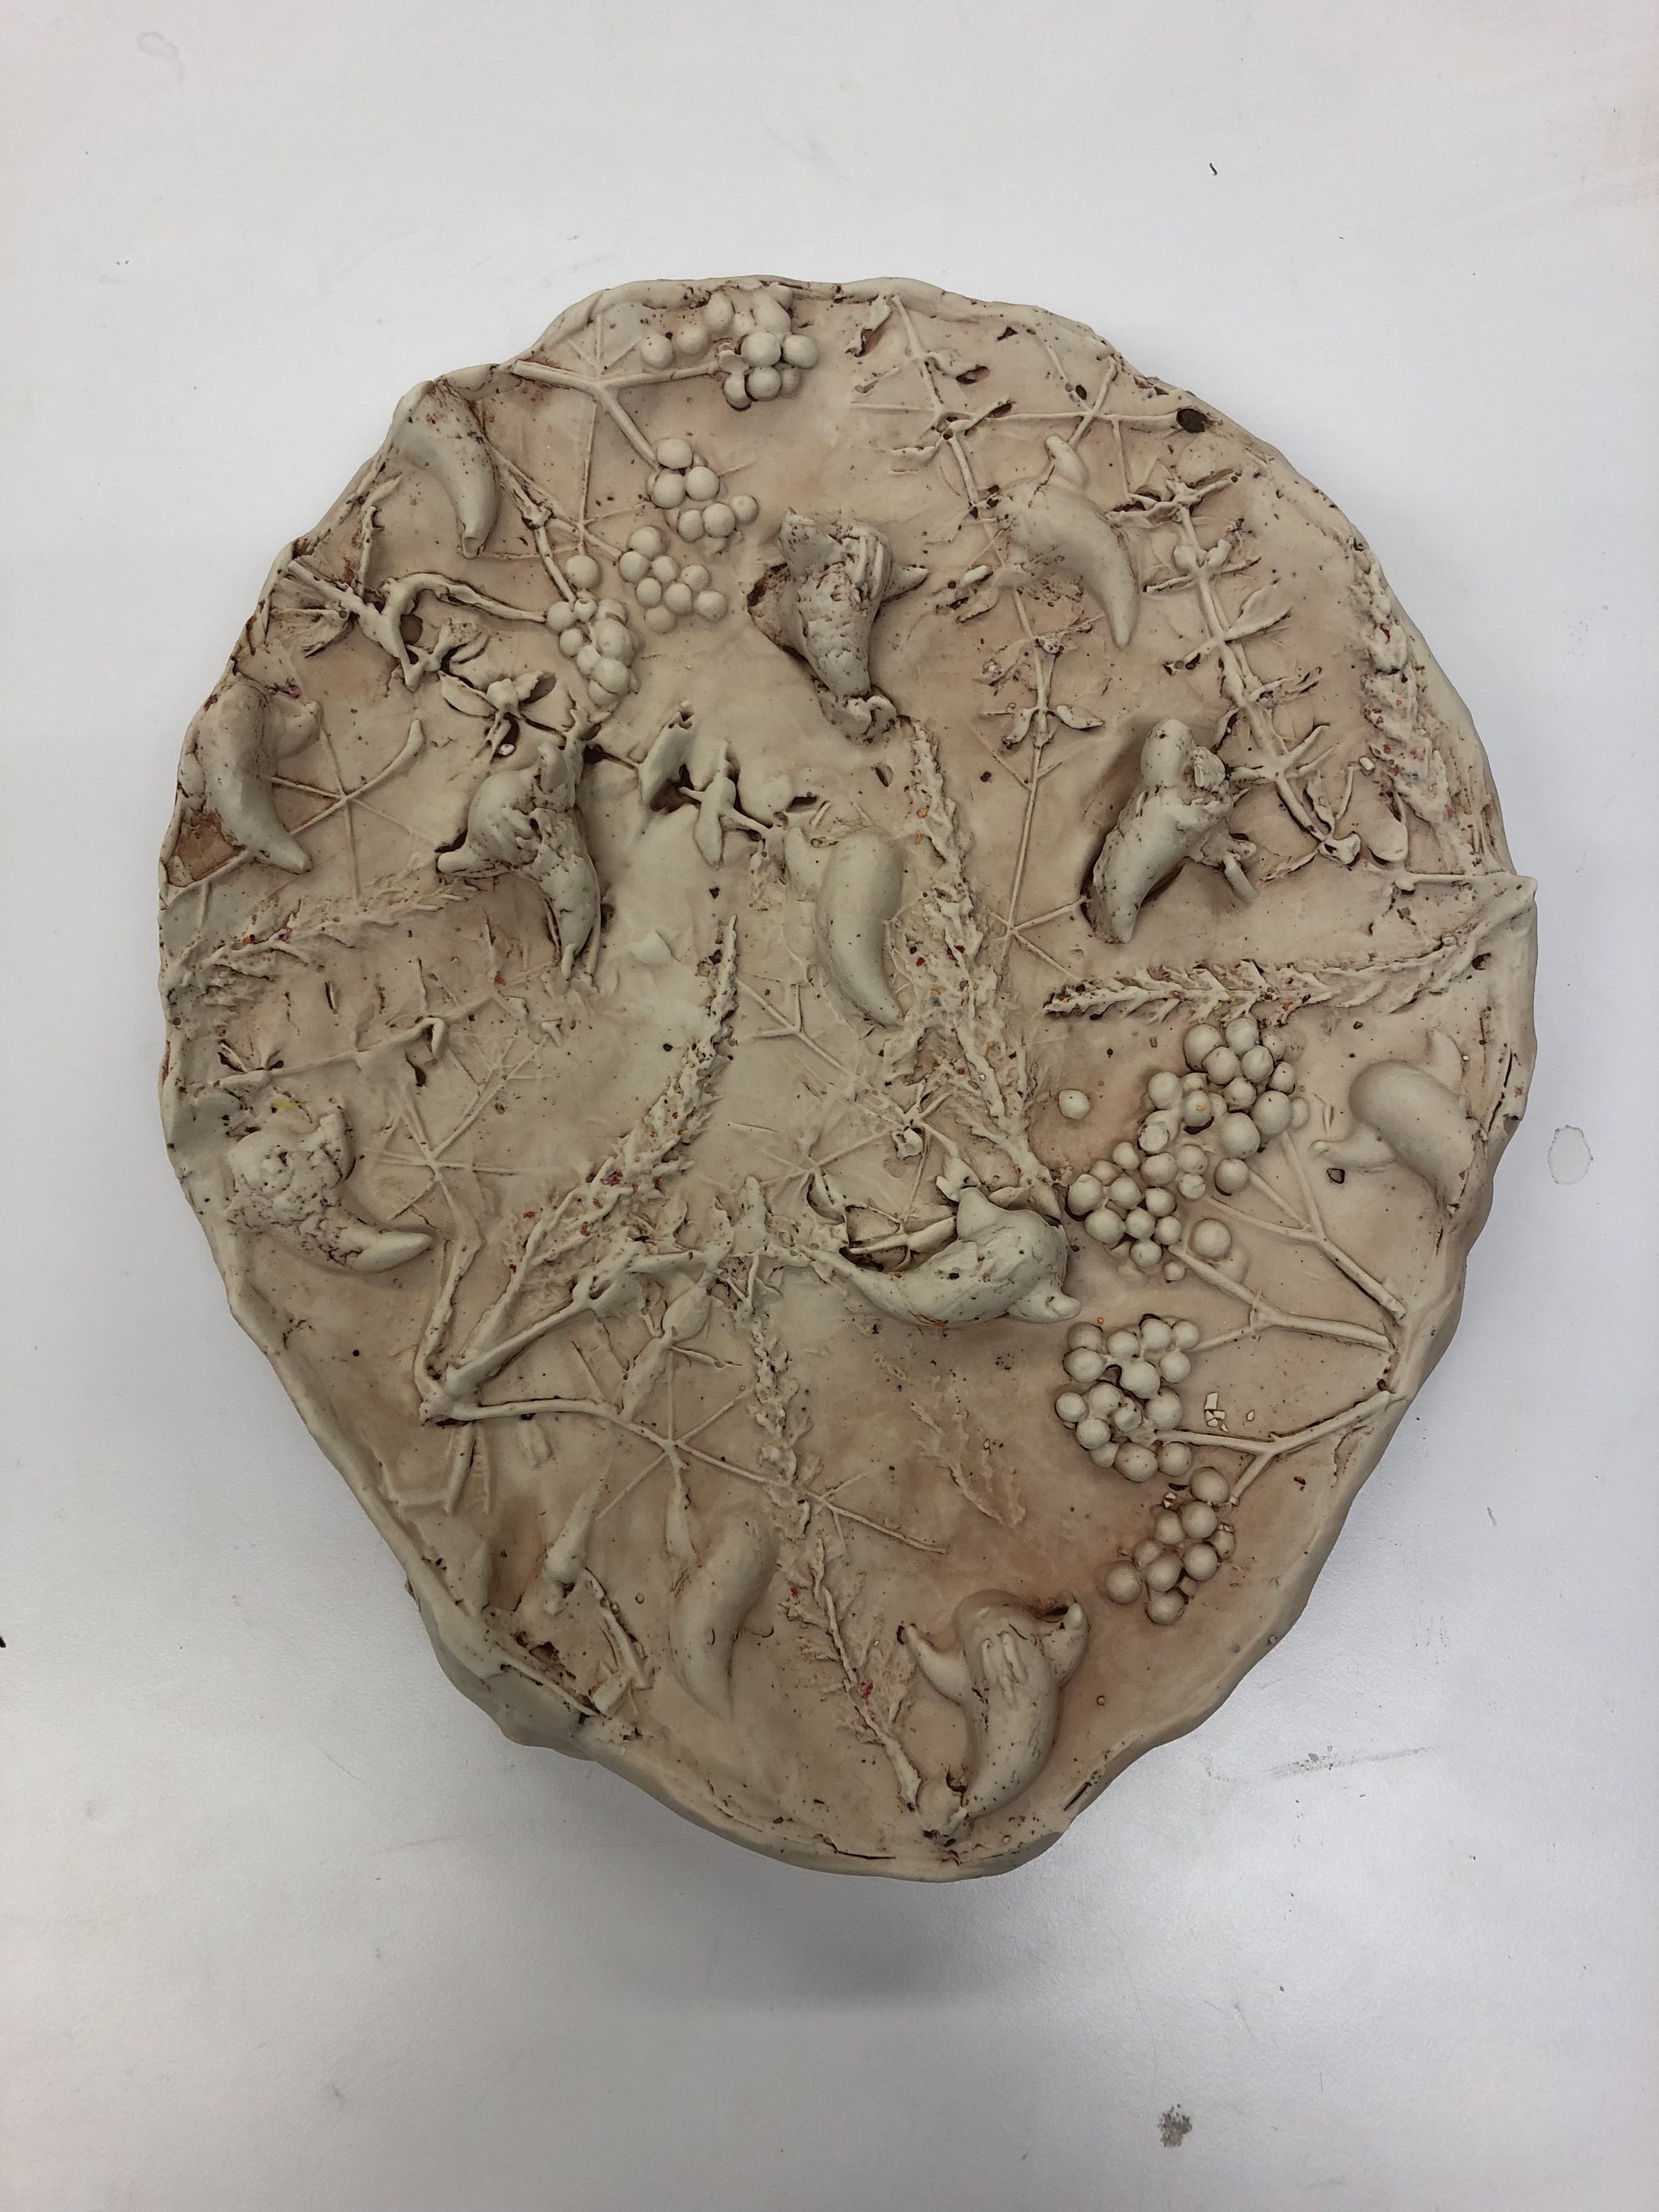
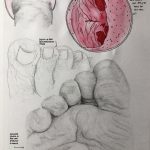
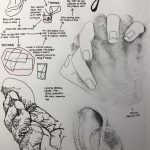
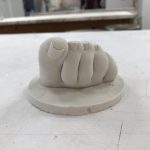
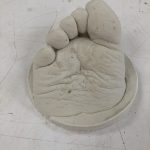
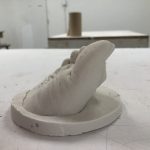
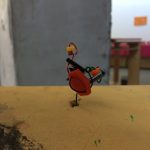
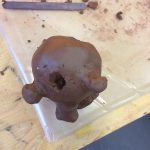
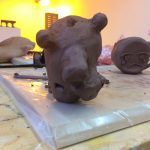
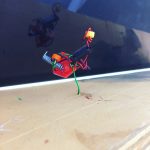
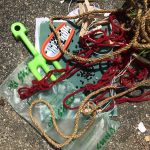
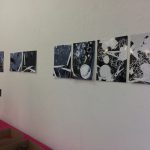
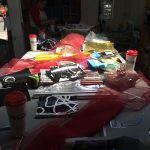
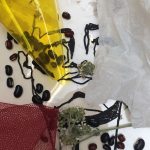
On the first day, we introduced them to instructional art, and produced several artworks that we very free, but still following instructions. There were a wide range of materials used throughout the day including clay, wire, small pieces of laser cut plastic and cardboard. Each of these were simple materials, however the instructions followed allowed for some interesting creations. I helped several student with possible ideas for the clay element, opening up new doors within their thought and design process. I also assisted some of the students to find other materials that were more challenging to work with. Lastly, as it was a particularly hot day, I ensured that they all had a sufficient amount of water at all times.

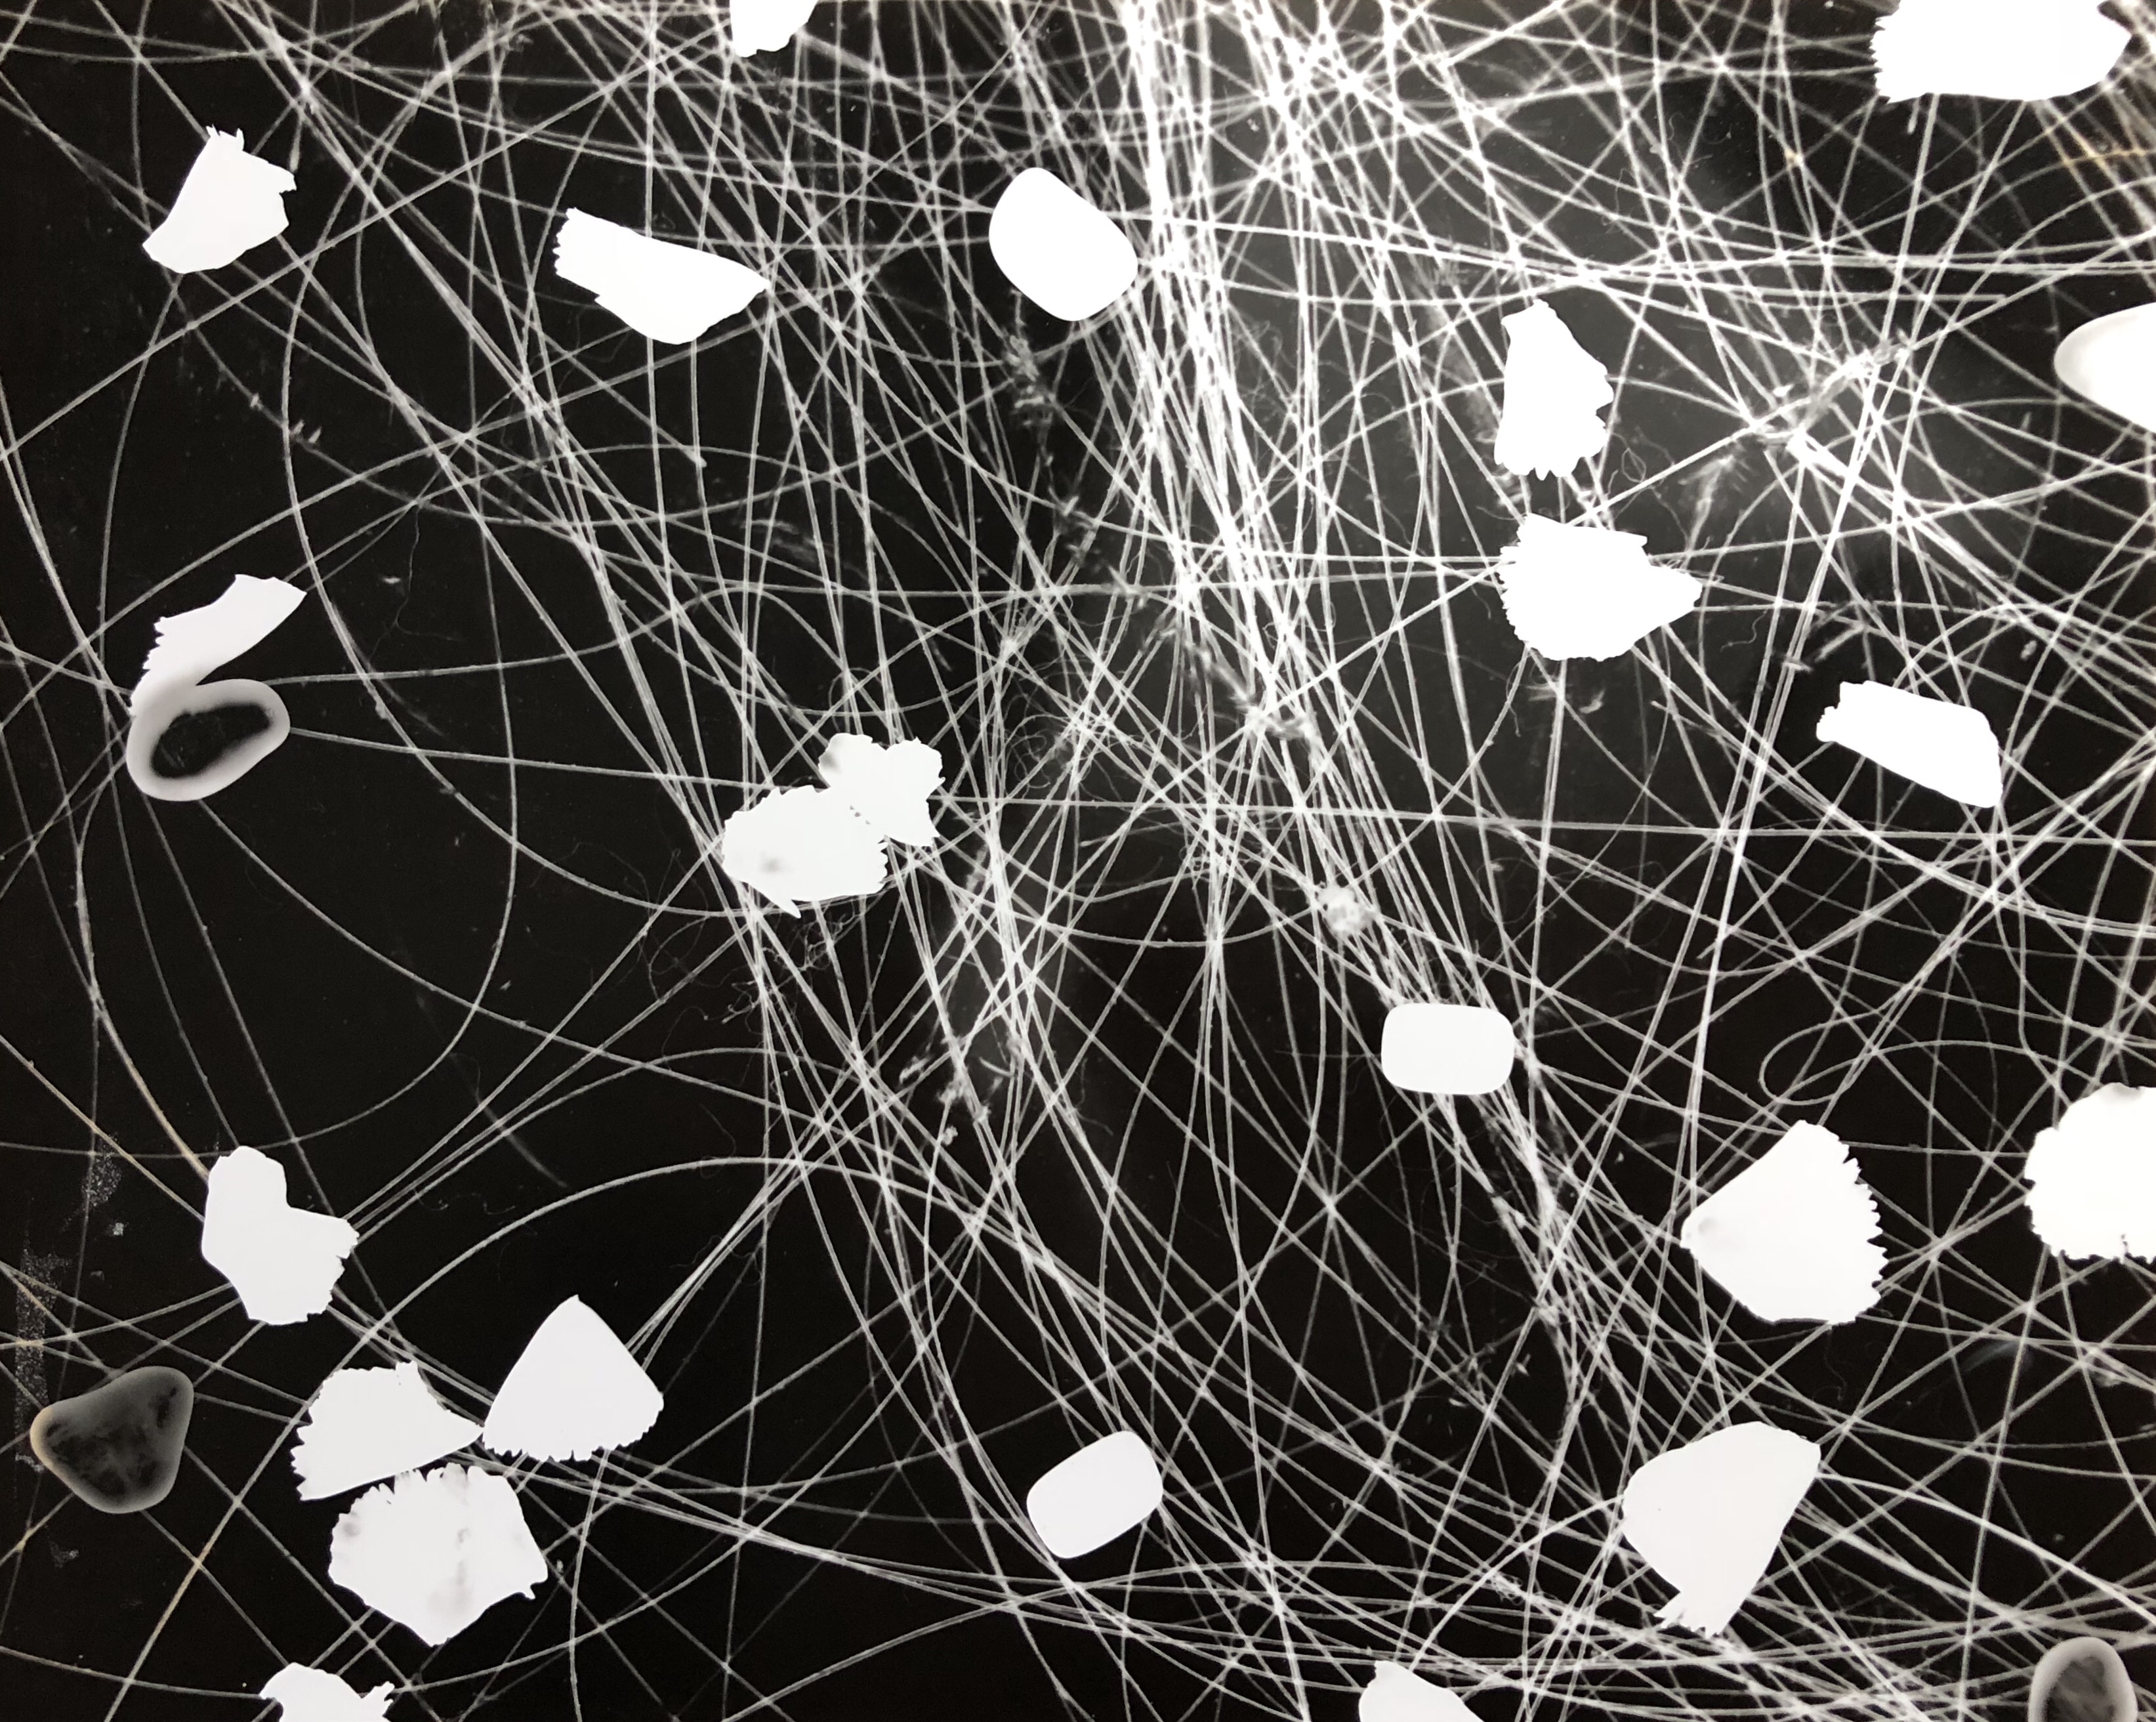
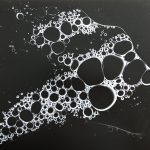
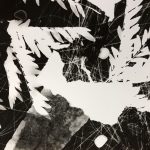
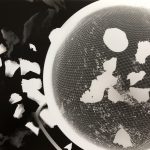
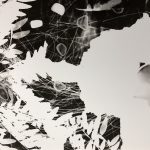
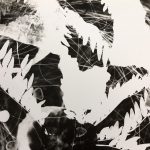
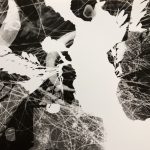
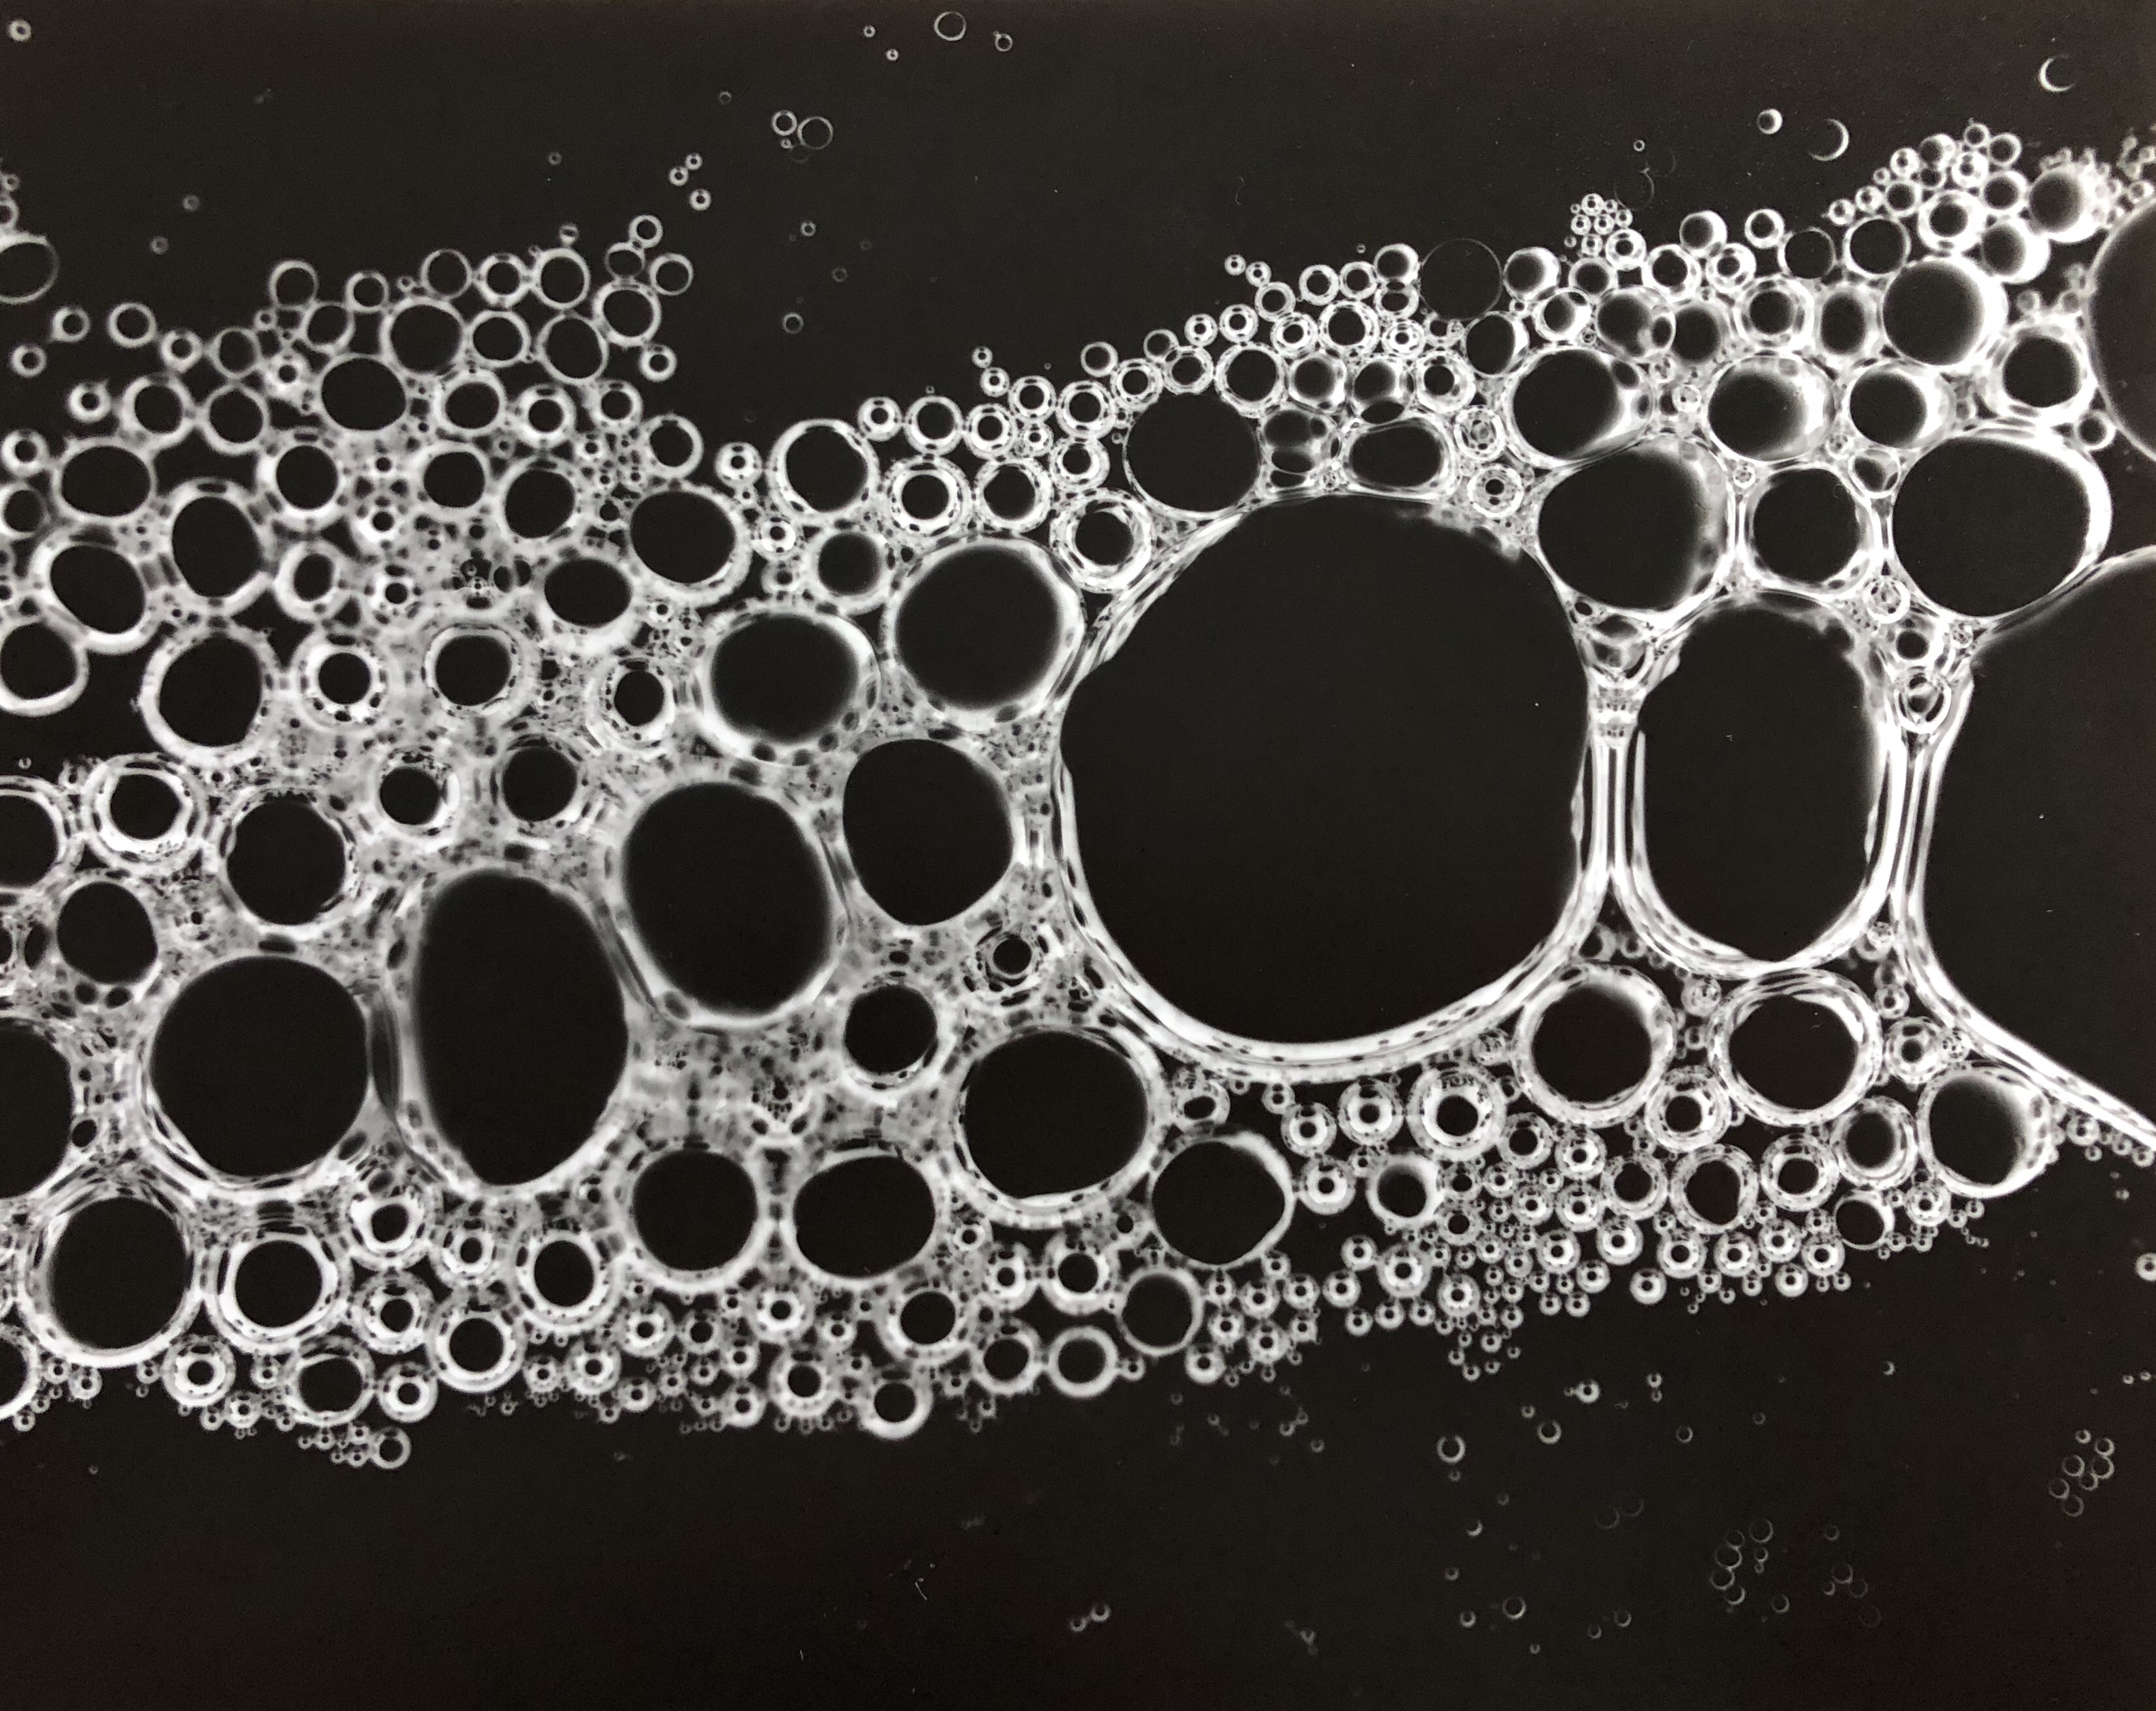
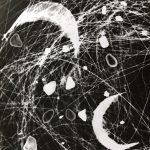
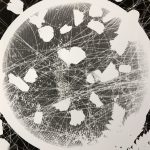
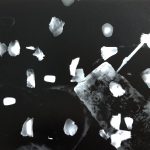
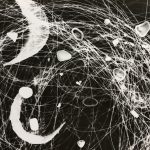
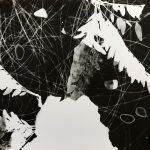
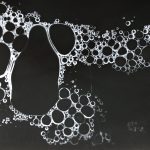
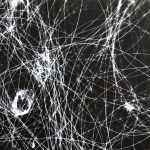
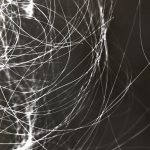
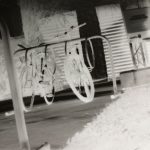
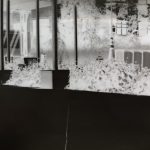
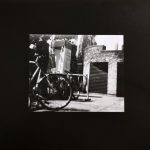
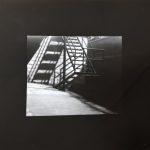
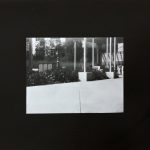
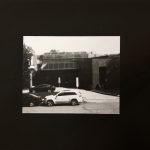
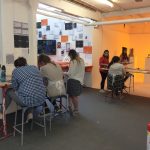
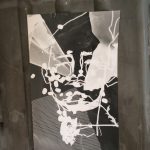
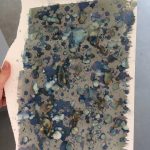
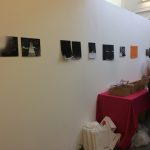
The second day was equally as interesting – the students were able to use our wet dark room to create their own photograms on light sensitive paper. They had bought some of their own transparent items, and used a whole table worth, to create unique and interesting designs. I was on hand if anyone had questions about the process or designs, as I have previous photogram experience. I was amazed at how many photograms were made, the detail within each, and the effect of the aperture and timing upon each of them.
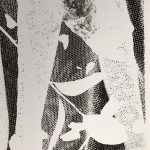
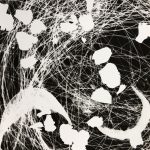
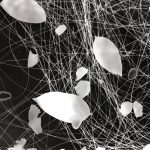
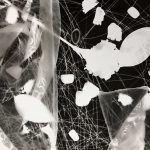
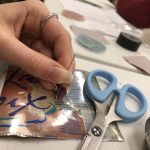
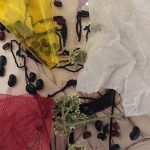
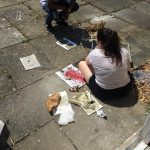
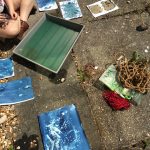
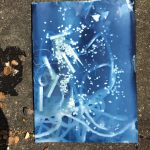
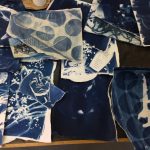
There was a second part to day two, as the student were able to carry on with photograms in the dark room, experimenting with different light sources, movement and also photographs onto the photograms. The students weee also able to learn a new technique of cyanotypes. These are effectively outside photograms and use UV light. This is a unique opportunity to work with the special chemical that are prized and painted onto the paper. The process was very interesting and I helped each of the students to hold their print down while it was in the sun both while developing and drying. I was also able to stop the development of many of their pieces by washing them off, allowing the students to create more while they were drying. Again, as it was a hot day, I ensured the students had enough water, and were drinking regularly.

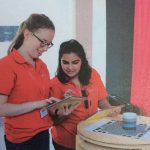
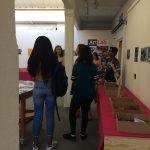
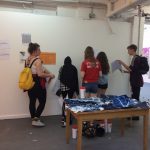
The final day of the residential was some information about applying to university, and taster sessions for other subjects that the students picked. This allowed them to see more of what the university has to offer.
Overrall, the residential element of Reading Scholars 2017/2018 was very enjoyable. I successfully aided students both from art and other strands with queries and situations. I found that some elements were difficult to deal with, namely because of the number of students that are on the residential. Although there were these difficulties, I believe that the residential and activities were a success.

Reading Scholars Event 2 Video

As part of the Tate Exchange, I was recording and documenting one of the days for the Reading Scholars Programme 2018, which gave over 20 Year 12’s the opportunity to experience a workshop at the Tate. The programme overall, gives a slice of university life and experience to those in several subjects, aiding them with decisions about higher education.
I was able to film many aspects of the day, including a manic clay workshop and iPad green-screen workshop, capturing the thoughts and ideas that came into life throughout the day – from wrapping people in pink shrink wrap, to using phones as strobe lights and creating clay monuments together while blindfolded. It was a full-packed day, with a final free entry into the Ilya and Emilia Kabakov exhibition.
Editing the video was interesting as I had no requests, only that it shows what we did on the day, with a bit of travel of the mentors to the Tate. I bought all of the clips together, merging them to create a seamless video highlighting the core aspects of Reading Scholars Art and Design strand participating in the Tate Exchange in Tate Modern, London.

Advanced RED Award

The Advanced RED Award is an extension of the University of Reading’s RED (Reading Employability and Development) Award, which I completed last year. The advanced scheme is more personalised, where you have to build your own goals around one of the available areas of development; Commercial Awareness, Communication and Presentations, Community Engagement, Digital and IT, Leadership and Networking.
At the beginning of the scheme, we were given a tick list of things you can do in each area, and I found that I had already completed many of these things, for example three different mentoring schemes, course representative, student voice member, as well as being employed by the university and getting involved in volunteering schemes. The area I lacked in the most was Digital and IT, which is a little surprising considering how much I use my phone and computer. But, I used them for personal use.
Through this scheme, I have tailored my LinkedIn profile, heading it in a more art-based direction, as well as altering the URL so it reads ‘charlotteabrahamartist’. I also had several meetings with careers mentors within the Universities’ Careers Department. These helped me to narrow what I wanted to do in the future a little more, and also allowed me to get advice on my LinkedIn profile.
The last part of my Advanced RED Award was to utilise Adobe more. When searching for graduate roles, or summer placements, a lot of companies and businesses wanted someone with experience in Photoshop, Ilustrator and InDesign, but there wasn’t a particular market for Premiere Pro. I then decided to create my own project around InDesign and Photoshop with videos and how-to’s, free courses and advice from the art department at university. I designed a complex and unique background for a laptop, and presented the design process on an InDesign interactive PDF, which also showcased my Premiere Pro experience.
https://www.slideshare.net/slideshow/embed_code/key/sSiqWYPGRULaUP
I found the experience of the Advanced RED Award and my personal project to be challenging, however I enjoyed it because it stretched me to learn something that I thought I would never make time for. I also find the fact that I completed the scheme very positive, as I was only one of twenty five students in the entire university that has completed it so far. I am now using the skills that I learned in this experience to help some local businesses with flyer, business card and website designs. I also hope to complete another area of the Advanced RED Award in the up-and-coming years to boost my professional development.

Untitled [Summative Pole Performance]

Final full edited version of the performance, taken from two cameras in two corners of the room. No sound editing.

Final full edited  version of the performance, taken from two cameras in two corners of the room, edited to view both angles at the same time with a focus on the projections rather than my bodily movements.

Full, unedited videos from the two individual cameras, showing the whole performance.


Full, edited videos from the two individual cameras, showing the whole performance.


These screenshots are demonstrating the skill taken to perform on the pole, and shows the projections and shadows created during the performance. I enjoyed this performance, and felt confident with the way that it was presented.
0207080910