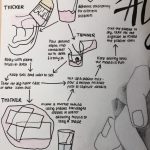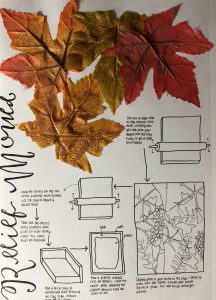
- Collect the items that you want to use in the relief mould. These items can be any shape, size and consistency. The hard objects will make very direct moulds, whereas soft objects may appear unclear.
- Roll out a large amount of clay into a desired shape. Depending on the thickness of the clay, will depend on how far in you wish to push your objects – the more projecting you want the design, the thicker the clay will need to be.
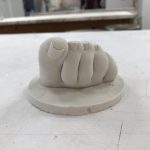
- Once the clay is the desired size and thickness, start pressing your objects in. A pattern may not be necessary here.
- Use a rolling pin and your hands to firmly press the objects in.
- When they are a desired depth, take all the items out. You may need tweezers for this, especially when getting smaller items out that may be stuck in the clay.
- After all objects are out of the clay, build a tall, thick clay or cardboard wall around the outside, ensuring it is at least double height and liquid-tight.
- Mix some thin plaster and pour into the mould, ensuring to cover the clay with a layer to get all the detail of the relief. Keep pouring plaster until the cast is at least 3/4″ thick. This will allow for a sturdy piece that will not break too easily.
- While the plaster is setting, make a hook out of wire, twisting it for extra strength. Add the hook when the plaster is able to hold it, without letting it sink. This is optional
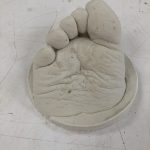
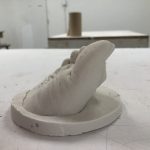
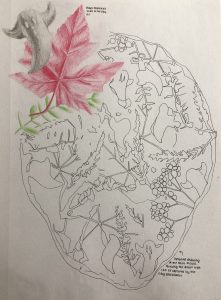
- Once the plaster is set, take off the clay. It can now be cleaned with water and a paintbrush to remove the clay.
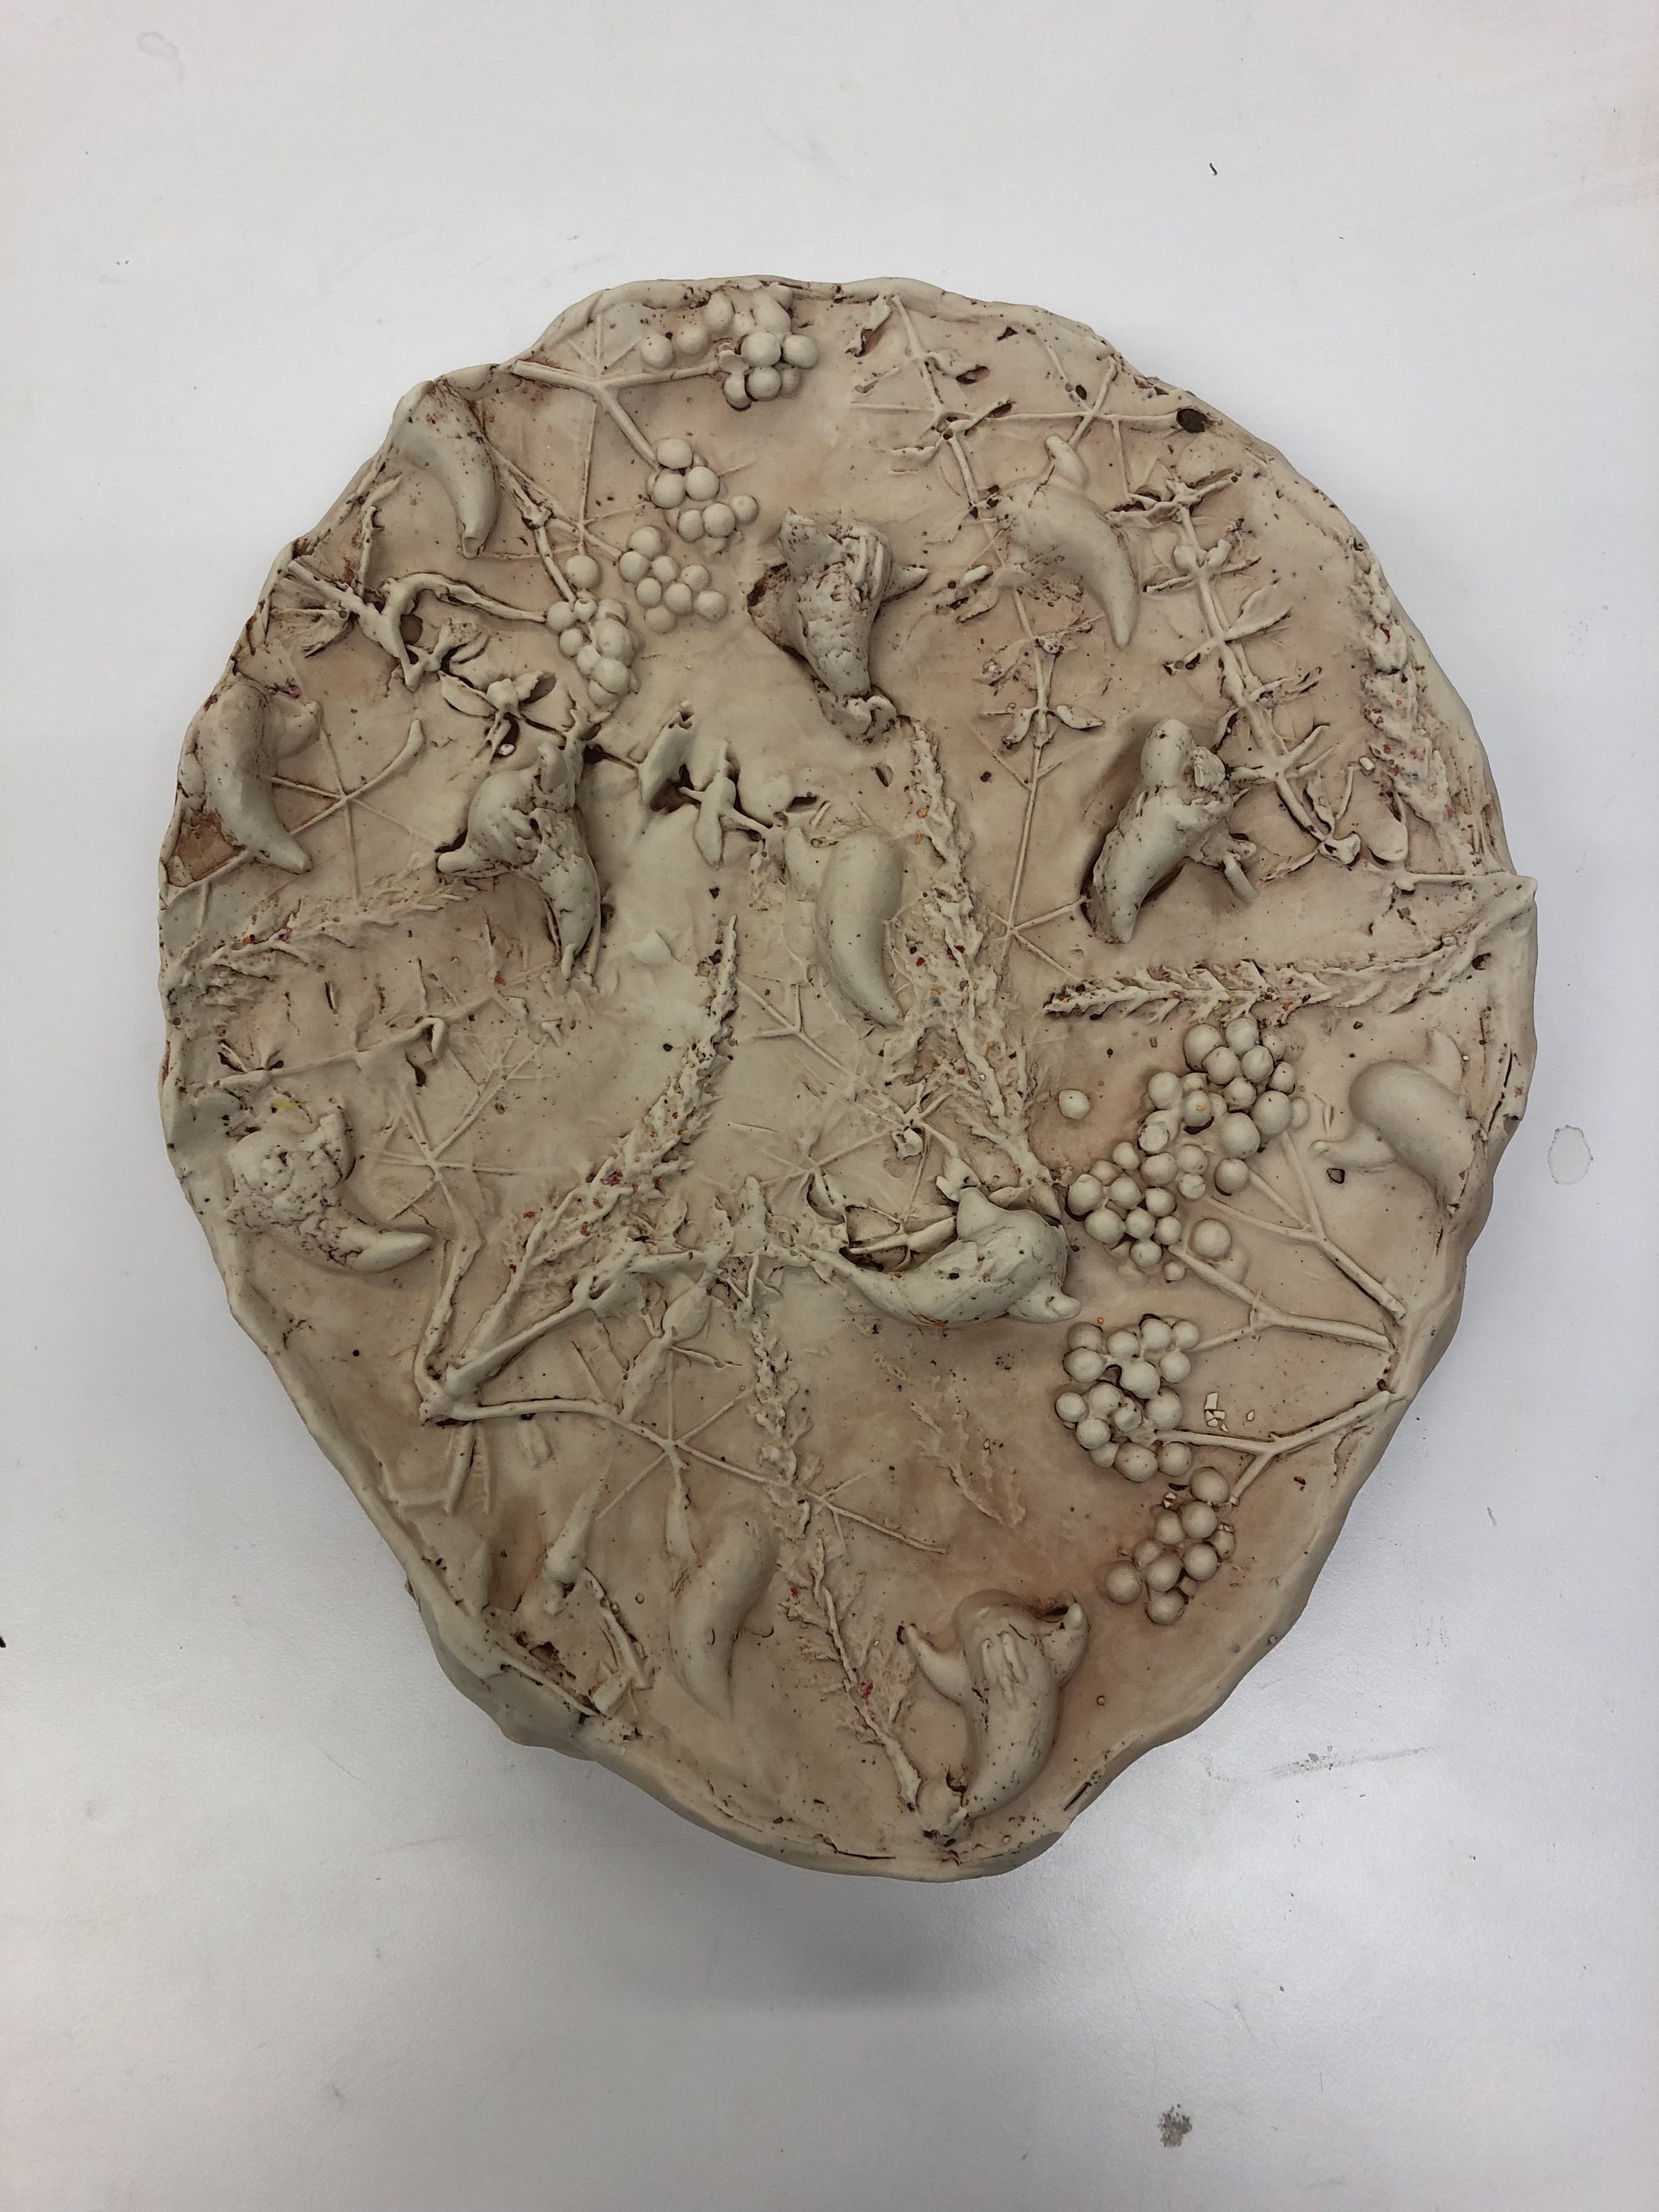
- And you have a relief cast.
Making the items flat in the mould was considerably difficult, especially while using a rolling pin. For the mould to be very prominent, you had to push each item in further, which was sometimes difficult with the delicate leaves. I also had problems getting some of the ghosts out. Although these problems occurred, I still found the project enjoyable, and I was pleased with the final result.